
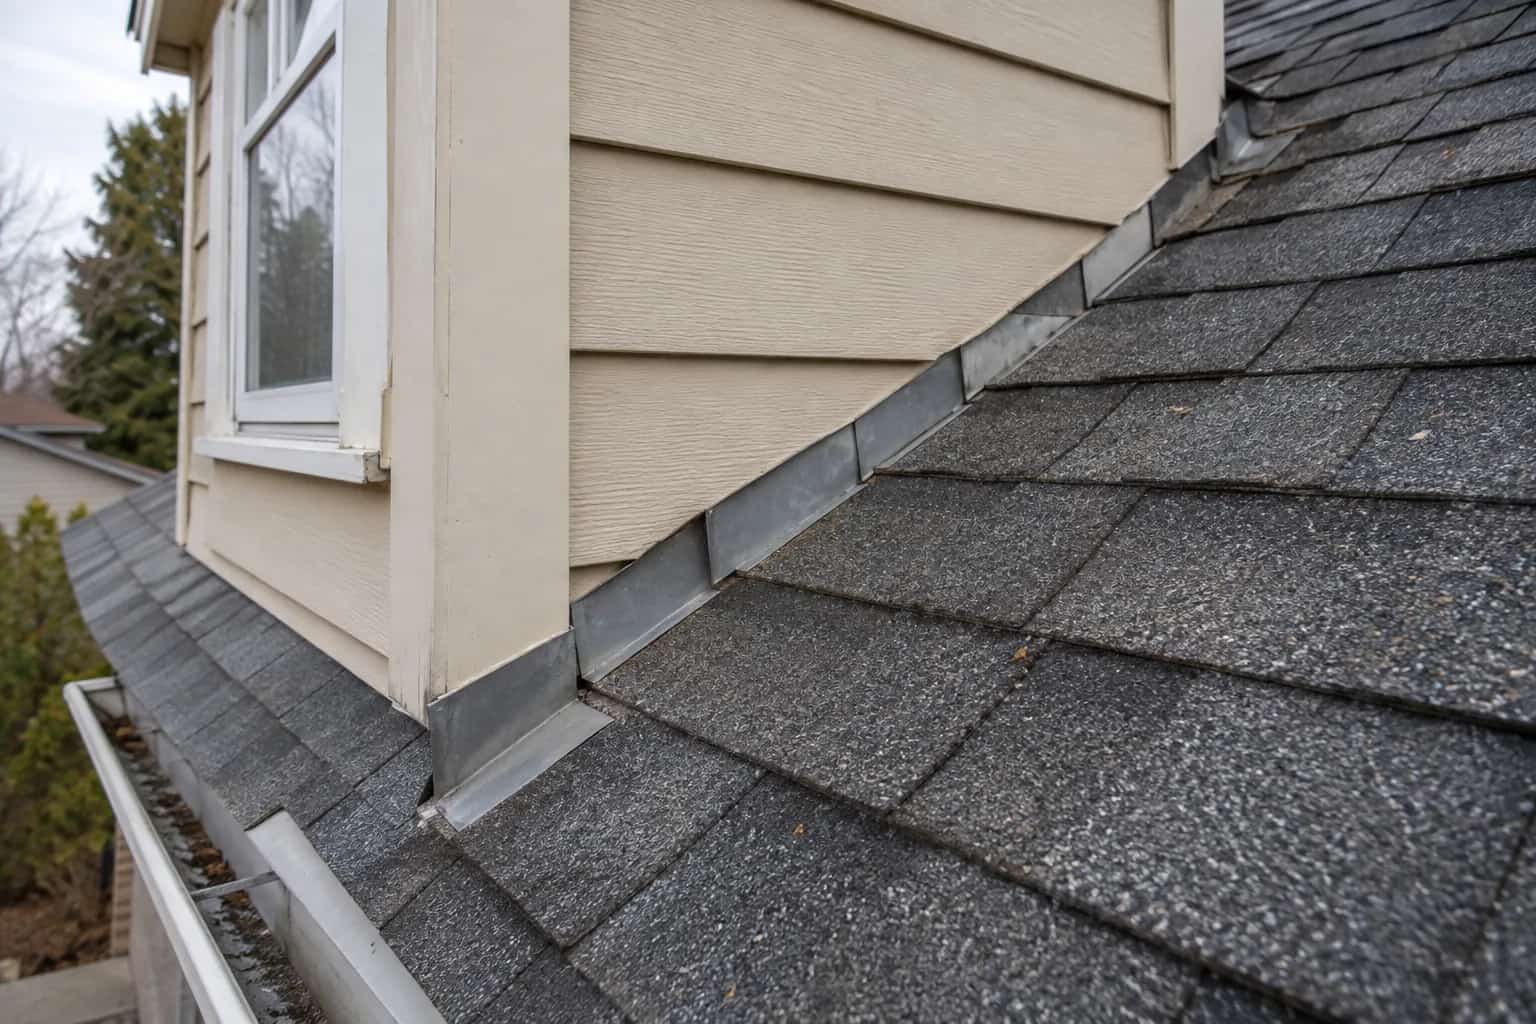
The siding installer is booked for Monday. The roofer is booked for Thursday. Then Mike points to the lower roof where new siding would cover the flashing access. Agree the shared junction before booking two finished jobs. The right sequence can involve removing wall finishes, completing roof details, then returning to finish the wall.
That means a coordinated project can have several handovers: expose the wall, repair hidden damage, install roof and flashing components, then complete the wall layers and siding. Two entirely separate appointments with no discussion may not achieve that sequence.
Find the Places Where the Jobs Meet
Walk the house with both scopes in mind. Dormers, a lower garage roof beside an upper wall, porch connections and chimney chases are common overlap areas. A wall that never meets the roof may be less sensitive to the order than a small dormer that does.
IKO's project-planning guide encourages coordinating broader renovation work. For these junctions, coordination needs to reach the actual detail, not just the calendar.
Both quotes say "by others" beside part of the connection. Dave puts them beside a marked photograph. "Which others?" is the whole meeting for a moment. They assign exposing the junction, completing the integrated detail and restoring the finish before anyone orders a start date.
On a coastal BC retrofit, establish how the existing wall cavity drains into the roof junction before either trade closes the connection.
Understand What Has to Drain
Water reaching the wall's drainage layer needs a route onto the flashing and away from the building. Roof runoff also needs to leave the junction without being directed behind the siding.
Building America's roof-wall retrofit guidance illustrates this integration. It is a building-science reference, not a substitute for Ontario requirements or the selected siding and roofing instructions.
Ask the trades to explain their proposed connection in plain language. A homeowner should not have to choose membrane laps or flashing dimensions, but can reasonably ask where water goes and which person completes each layer.
If the new siding includes exterior insulation, draw the thicker wall against the existing eave before either trade finishes.
Wall and roof work meet at the flashing
The wall drainage layer must overlap the flashing upstand. That relationship is the reason siding access and roof work need a shared sequence.
Schematic view. Shows relationships, not installation dimensions.
Leave Access Until the Detail Is Ready
New siding installed too early can conceal the area needed for roof flashing. Removing it again risks damage and additional labour. Conversely, completing roofing without arranging wall access can leave the roofer trying to work around an unsuitable old connection.
Agree who removes the necessary siding and who restores it. Confirm whether matching materials are available, especially when only a small strip of an older wall is involved.
Our flashing reuse guide explains why retaining old metal should not be the automatic workaround for difficult access.

Give the Small Strip Between Trades an Owner
At the lower garage roof, the roofer needs wall access and the siding installer needs the flashing position. Those scopes meet at a real connection, not merely adjacent dates in two calendars. The marked photograph gives both trades the same area to discuss.
Keep the assignments with both scopes, including temporary protection between visits. If an opening reveals damage, use that same handover to record the additional work and who will finish it before concealment.
This is a better scheduling conversation than simply asking which trade always goes first. The sequence follows what must remain accessible while the shared detail is completed.
A weather gap appears between the visits. Pat asks who leaves the connection protected and who confirms what the next trade must finish. The answer goes into the handover, with photographs before concealment. That narrow strip of wall has finally become somebody's specific job.
Manage the Gap Between Trades
If the visits cannot occur together, assign responsibility for temporary protection. Record what condition the first trade leaves and what the second must complete before the junction is weather-ready.
Ask for photographs at the handover, before the final wall covering hides the connection. Keep those with the project documents and identify which warranty applies to each portion of the work.
Review the shared junction before the siding conceals it. The most valuable scheduling success may be a narrow strip of flashing that nobody notices afterward because it was accessible at the right time.