
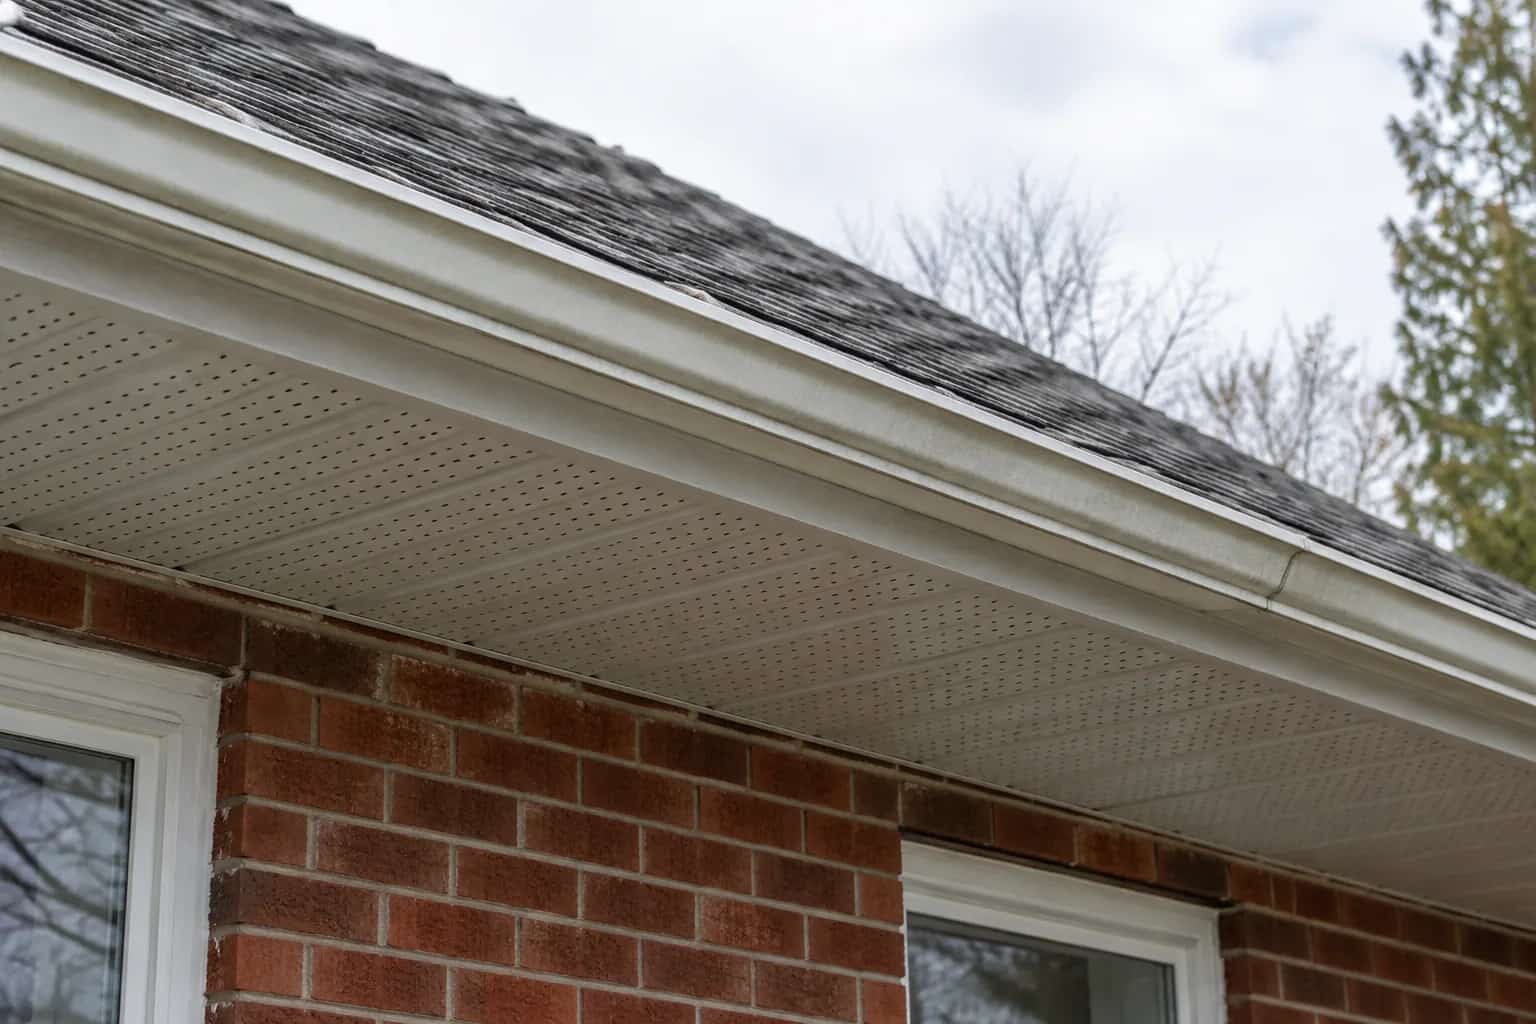
The exterior insulation quote looks straightforward: add a layer, install new siding, enjoy a warmer house. Then someone holds the full wall build-up beneath the existing eave. There is less roof projection left than expected. The roof edge has to be checked against the finished wall face, including support, drainage space and cladding, not just the insulation board.
This is exactly the sort of small drawing that earns its keep. It can change a soffit detail, a gutter position or the order of work before materials arrive.
Count the layers that will actually be there
Suppose the planned insulation is 75 mm thick and the support, drainage and cladding arrangement adds another 35 mm. That invented example moves the finished face 110 mm outward from its starting reference, not 75 mm. These are planning numbers, not a recommended assembly.
If the existing projection from that same reference were 200 mm, the simple geometric remainder would be 90 mm. That subtraction does not decide whether the detail is adequate. It explains why a proposal that considers only the insulation thickness can misdescribe the finished edge.
Use measured dimensions and the selected products for the real drawing. The wall may not be uniform around the house, and corners or existing trim can complicate the reference point.
The eave protects a connection, not just a line on the elevation
NRCan's exterior-wall guidance includes eave protection and the relationship between new wall layers and the roof. Rain control still depends on the wall's drainage arrangement and properly connected flashings; a remaining projection cannot replace those details.
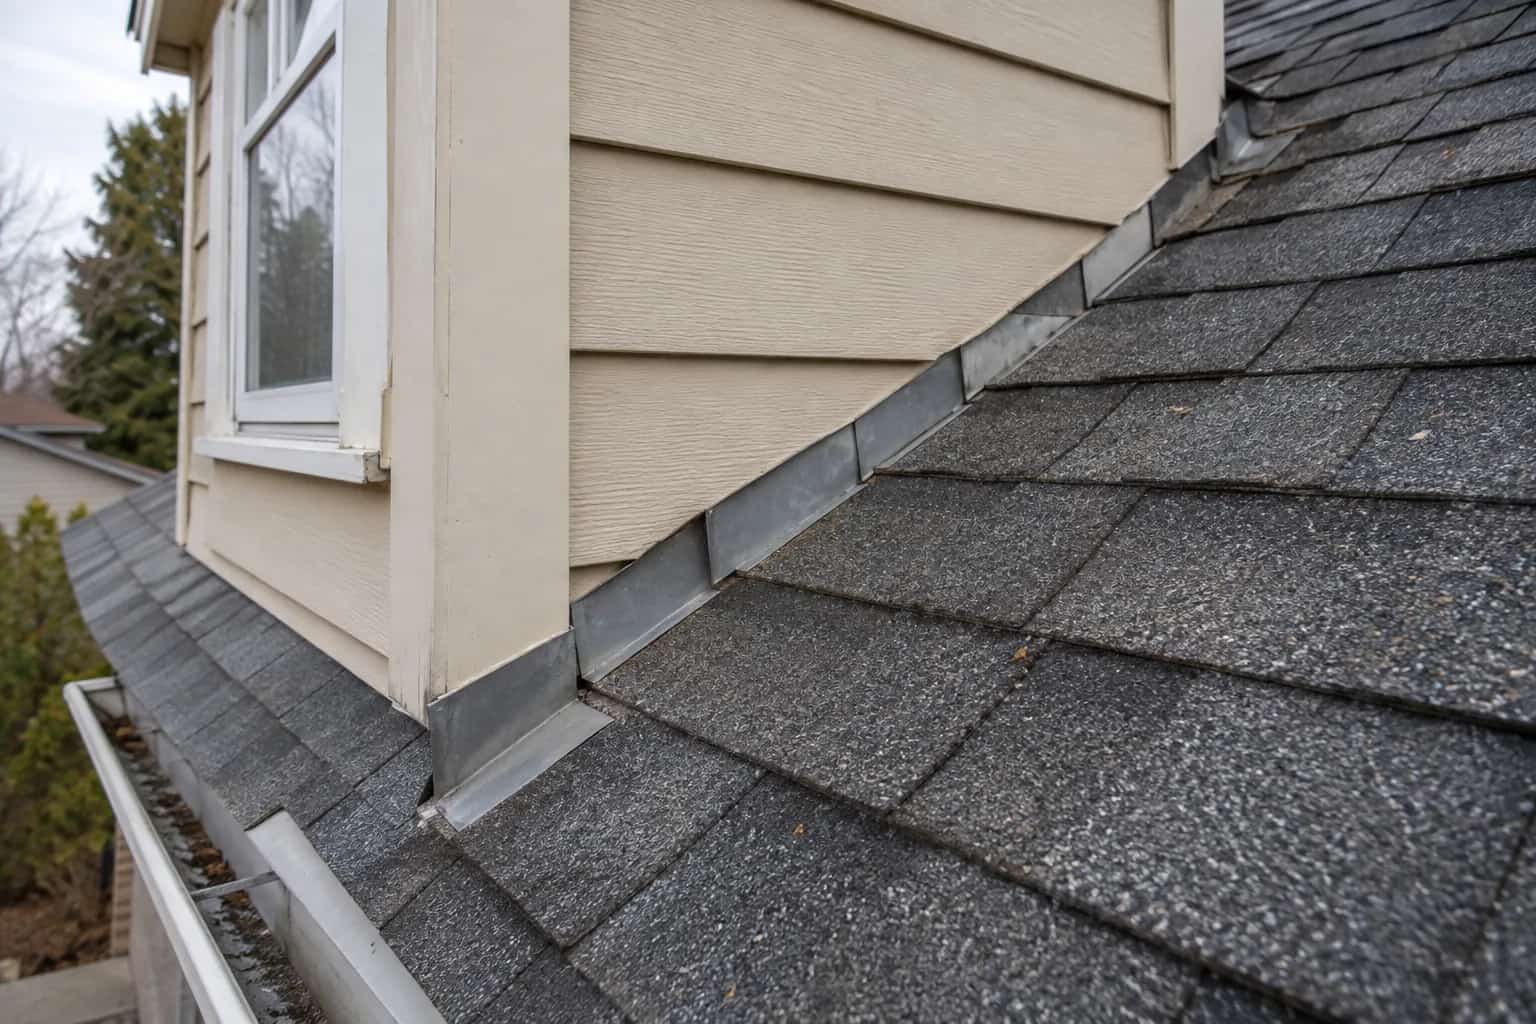
Ask how the top of the new cladding terminates beneath the soffit, how water is directed outward and what happens at nearby roof-wall junctions. A small dormer or lower garage roof may require a different treatment from a broad uninterrupted wall.
Building America's retrofit flashing guidance illustrates the need to connect wall drainage to roof flashing. Use it as building-science context, with the actual Ontario requirements and product details established for the project.
The corner where three quotes stop
The siding installer prices up to the soffit. The roofer prices down to the fascia. The gutter installer prices the trough and downspout. Mike circles the narrow space where all three descriptions politely stop.
That strip needs an owner. Who opens it, connects the layers and restores it? If the answer is whoever gets there last, the schedule has been mistaken for a design.
Have the trades review a marked section and a photograph together. Agree the condition in which each handover occurs, including temporary protection if visits are separated. The roofing-and-siding guide covers that sequencing conversation in more detail.
Draw the new face of the wall
Count the complete build-up before deciding what remains of the overhang.
Existing wall
Establish the current face and the roof edge above it.
Insulation and support
Add the specified thickness and its attachment arrangement.
Drainage and cladding
Include the cavity, finish and upper termination.
Roof edge and soffit
Check the resulting projection, ventilation and water-shedding connection.
Preserve the intake route and the wall connection
A thicker wall can change access to the soffit area. Where the roof uses soffit intake ventilation, the finished detail must preserve its intended route. An attractive perforated panel does not establish that the space behind it remains open.
The air-control connection also matters. Identify where the wall's new or repaired air barrier meets the roof or ceiling boundary. That junction should not disappear behind trim before anyone verifies it.
If the attic already has a cramped perimeter, coordinate the low-eave insulation work. Exterior access may be an opportunity, but the crews need one agreed detail rather than separate assumptions about the same corner.
When extending the roof becomes part of the option
A designed overhang extension may be worth comparing where the existing geometry does not suit the new wall. It changes support, roof edge, fascia and often drainage, so it belongs in the early scope.
Toronto distinguishes structural alterations from simple roofing replacement. Check approval and property constraints before treating a longer edge as a small trim allowance. Our overhang-extension guide explains the broader decision.
The alternative may be another compatible termination detail or a revised wall assembly. Choose among complete, buildable options rather than cutting a structural decision down to fit a leftover budget line.
Keep one drawing through the work
Retain the final section showing actual wall thickness, roof projection, soffit and drainage connections. Update it when products change. A thinner-looking substitute can still alter support or moisture behaviour, so do not assume a dimension change is the only consequence.
Before the finish closes, request located photographs of the shared connections. The result should be a warmer wall and a roof edge that still works as intended. Neither trade should have to undo the other's finished work to achieve it.