
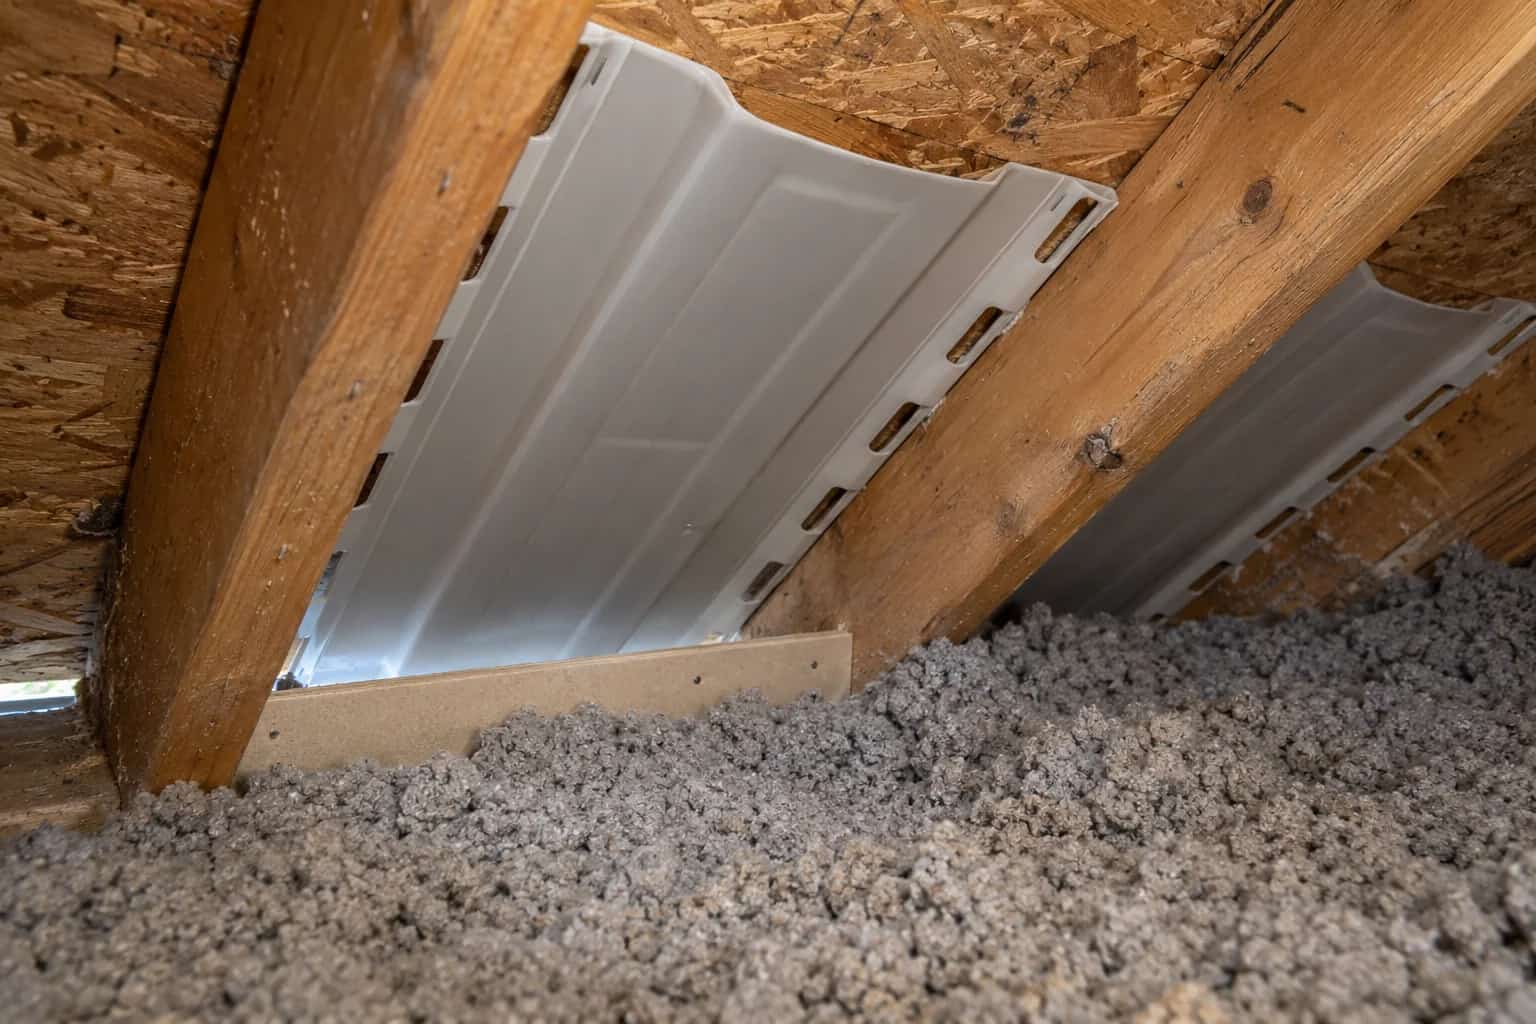
The bungalow owner has circled the cold bedroom corner on a photograph. Dave has circled the eave on the roof section. At last, two people are talking about the same small piece of the house. The centre of the attic can swallow another truckload of insulation. The last strip above the outside wall may barely accept a hand. When the roof drops close to the ceiling at the eave, a bigger top-up does not create more space where the cold ceiling corner begins. The repair needs an edge detail, not just a deeper number on the quote.
This is common enough in older low-roof houses to deserve its own discussion. It is also where a tidy photograph of the middle of the attic tells you least about the completed job.
Draw the tightest part first
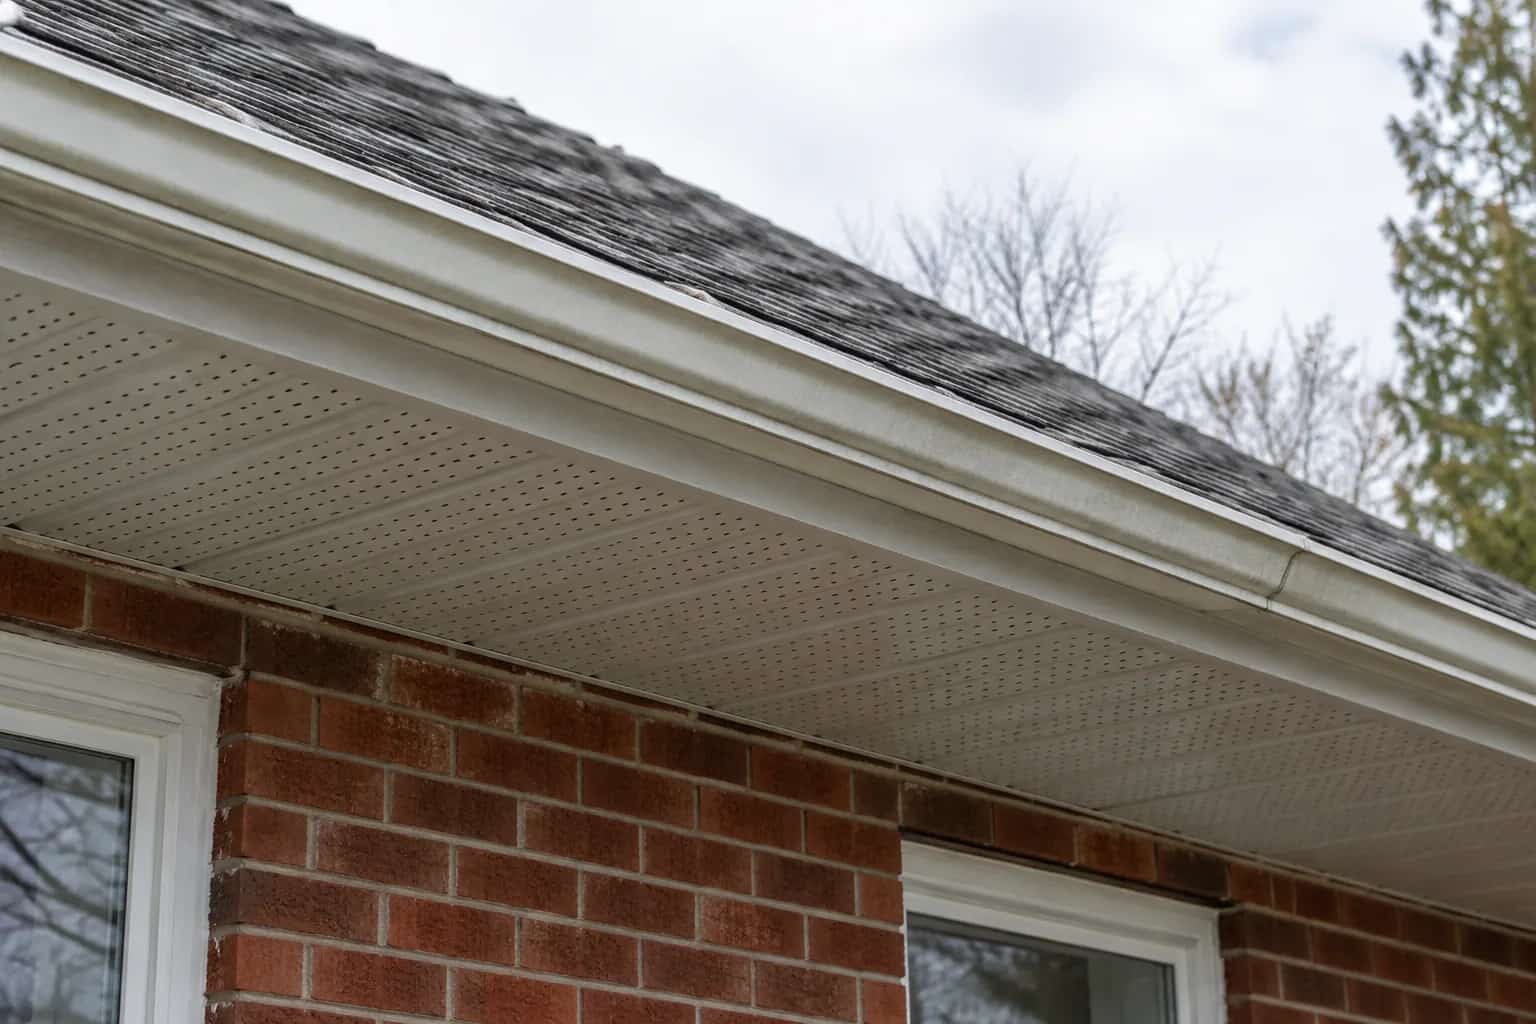
The eave is the roof edge beyond the wall. Inside, the roof framing and ceiling meet near the wall's top plate. The available height there may be much smaller than the clear height a metre farther into the attic.
NRCan's attic guidance specifically identifies restricted insulation space at low eaves. It also treats the air seal and ventilation passage as parts of the retrofit. Packing more material against the roof deck can compromise the passage without providing the planned insulating value.
Dave starts with a simple section through the actual edge: wall, ceiling, insulation, ventilation path and roof deck. Include any obstructions. A photograph from the hatch is not that section, and a standard diagram is useful only after someone confirms that it fits the house.
The two quotes may be promising different things
Back at the bungalow, the two quotes look similar until we read the small print. Quote A specifies a uniform top-up across the accessible attic. Quote B includes time to reach the perimeter, repair the ceiling-to-wall air connection and install a defined edge treatment before topping up.
The prices are not directly comparable. Dave puts a finger on the bedroom corner. "This is the bit we are buying an answer for." A may deliver its stated quantity of insulation and still leave the original weak strip. B needs to say what its edge treatment achieves; the word upgrade is not a thickness, material or inspected connection.
Ask each contractor to distinguish the central area from the restricted perimeter. This does not require you to calculate a heat-loss model. It asks the proposal to acknowledge the part of the roof that cannot receive the same installation.
The space above the wall
These three functions have to fit through the same cramped edge.
Ceiling connection
A continuous air-control connection limits warm indoor air entering the attic.
Insulation over the wall
The perimeter needs a specified, achievable thickness rather than the centre-of-attic depth.
Ventilation route
A vented assembly needs its intended passage kept clear above the insulation.
Roof structure
Existing geometry limits the space; changing it is a design decision.
Three possible routes, with different disruption
Work within the existing space. Where enough room exists, careful air sealing, a suitable baffle and a selected insulation arrangement may improve the edge without altering the roof. The achievable result should be stated honestly. Compressing a thick batt into a thin opening is not the same installation as leaving it at its rated thickness.
Use planned interior access. If the ceiling is already being opened, the difficult connection may become accessible from below. That can make continuity easier to inspect, but it adds finishing work and may change room dimensions if insulation is added beneath the ceiling.
Redesign during larger exterior work. Reroofing or a major enclosure renovation can create other options, including a designed assembly above the deck. Those changes affect roof height, edges and flashings. They are a different project from pushing loose fill farther into the corner.
An estimate should explain which route it includes and what remains constrained. The effective R-value guide helps separate a product label from the performance of the whole section.
Keep the evidence small and useful
Before the area disappears beneath new insulation, request a few located photographs: the exposed connection, the completed air seal, the maintained passage and the finished perimeter insulation. Our preference is fewer photographs with a purpose. The contractor should explain what each picture establishes. Thirty pictures of fluffy insulation are excellent evidence that a phone was present. A close-up with no location can be surprisingly difficult to use six months later.
Do not crawl into a narrowing eave to inspect it yourself. Ask how the crew will reach it safely and what areas cannot be inspected. Existing moisture, damaged framing or suspect insulation needs attention before the top-up proceeds.
Check the corner that started the conversation
Save a record of the affected rooms and weather pattern before work. Afterwards, compare comfort and any condensation under similar conditions. A painted corner looking clean in September cannot establish winter performance.
If exterior wall insulation is also planned, bring that work into the same drawing. The roof-to-thicker-wall junction may determine where the air-control layers connect and how much overhang remains. It is easier to coordinate those decisions while the paper is still flat on the table.