
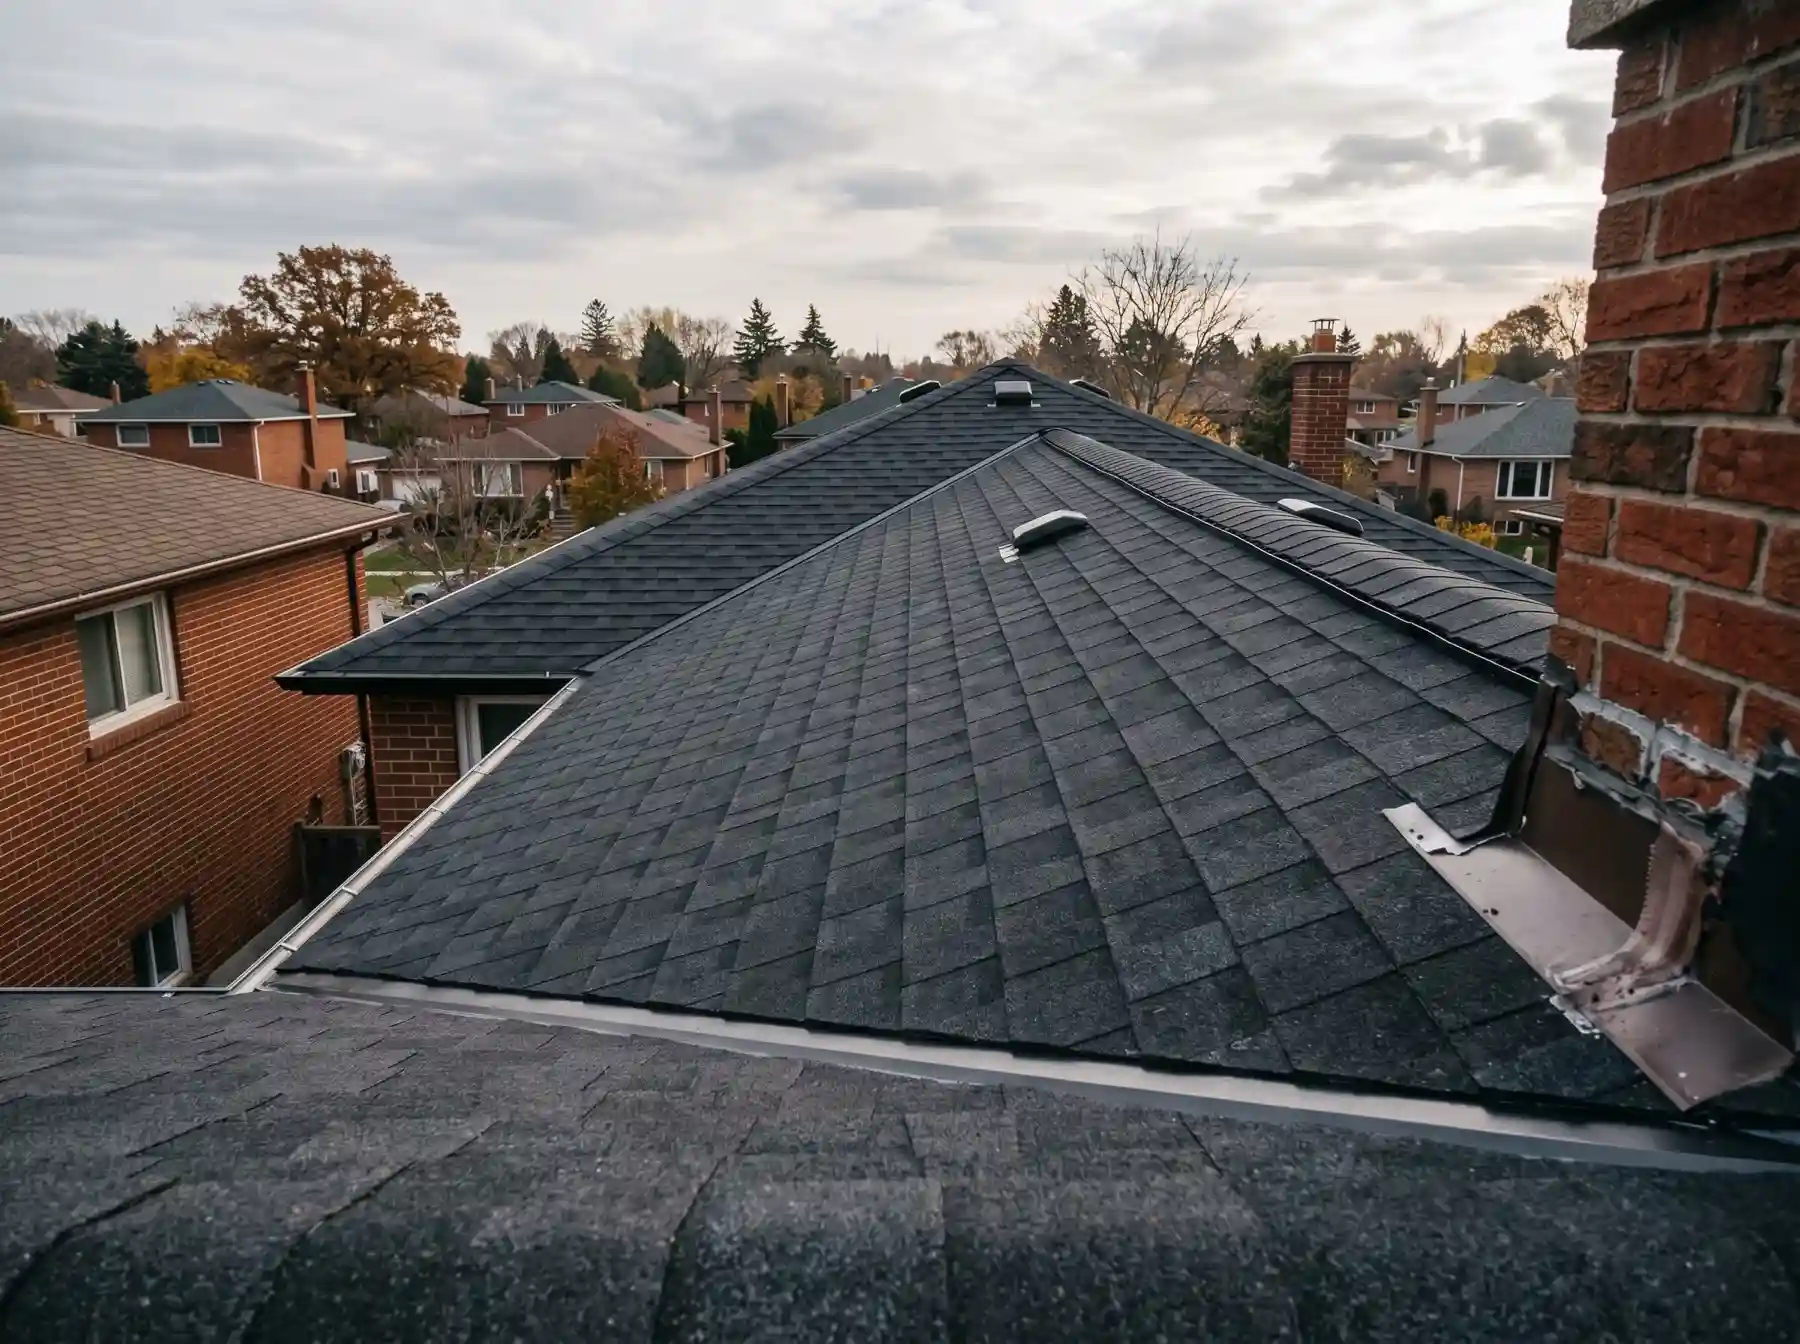
A photograph of new plywood arrives with "all fixed." Mike rotates the phone. Pat squints. Neither manoeuvre reveals where the plywood is. A useful roof photo needs a location and a reason to exist, especially once the next layer covers the work.
Pair location views with details and capture important work before it is concealed. A small, purposeful photo set beats a large folder of finished shingles.
Give Every Close-Up a Location
Ask for an overall view of each relevant slope and a simple location label: front, rear, garage, chimney side or another description that makes sense for your house. Then pair close-ups with those views.
Keep dates where available. If photographs are sent by a messaging service that reduces quality, ask for original files for the final record.
Dave asks for the wide view before the close-up. The dramatic detail is easier to understand when it belongs to a known slope, chimney or wall. That pairing takes less explaining than twenty anonymous photographs later.
Prioritize Hidden Work
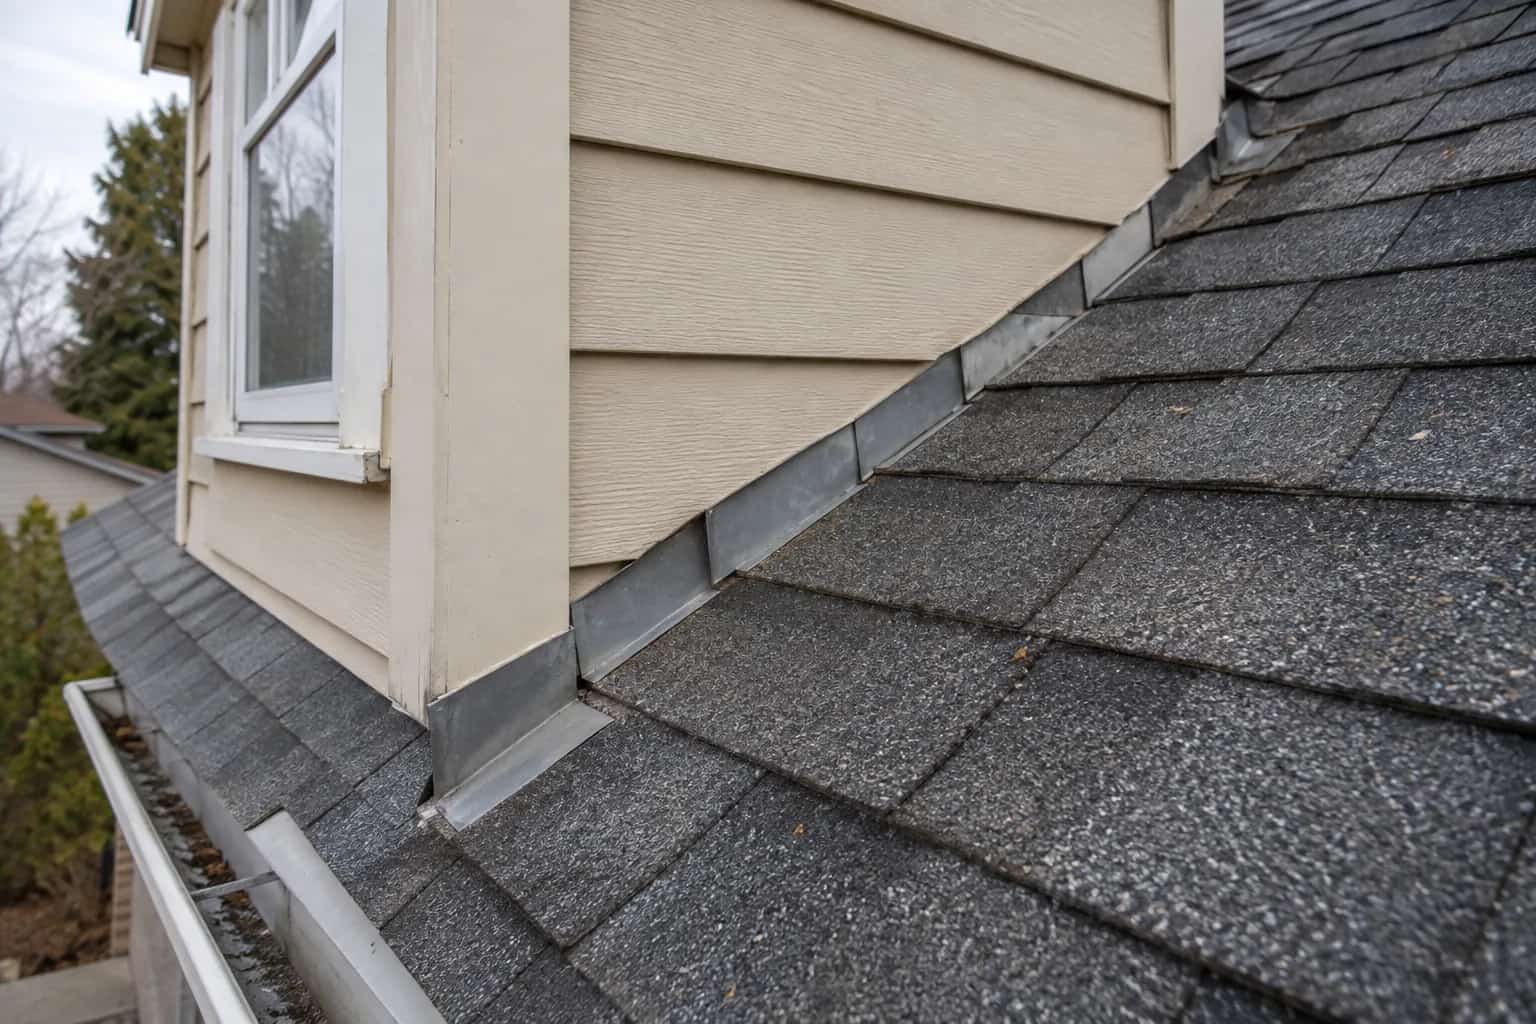
For example, a roof-wall junction may depend on work behind the siding. Building America's existing-home flashing guidance illustrates why the completed exterior view cannot reveal the entire drainage connection. Its construction principles are useful; local requirements and the selected products still govern the job.
Do not request a generic checklist photograph that has nothing to do with your roof. A house with no valley does not need a valley photo. A house with a complex chimney deserves more attention there.
Photograph the Stages That Disappear
Later layers conceal information, so timing matters more than taking dozens of final views.
Exposed deck
Show the substrate and any damaged areas before repairs.
Completed repairs
Record new decking and its location before covering.
Water-control details
Capture underlayment and relevant flashing integration.
Finished covering
Add overall views and final details for future comparison.
Five Pictures With Jobs to Do
For Mike's deck-repair and wall-junction discussion, a useful sequence would be:
- The rear slope, showing where the repair sits.
- The exposed defect close enough to discuss its condition.
- The completed repair before covering.
- The wall connection while its relevant layers remain visible.
- The finished slope as a future baseline.
That is a purposeful sequence, not a universal five-photo requirement. A different roof needs different evidence. Ask the roofer which hidden details matter here; do not reward a large folder whose photographs all show the same finished shingles.
Connect Photos to Approved Changes
For damaged decking, request a condition view, the agreed location and a completed repair view. Keep those with the written change order. This makes the final quantity easier to reconcile and records what was actually replaced.
We should also explain what each photograph cannot establish. An image of dark wood cannot by itself tell you its strength or moisture condition. A picture of fasteners does not necessarily show every fastening location.
Photographs support a project record. They do not replace inspection, product instructions or competent installation.
Finish With a Useful Baseline
Collect overall final views and details of penetrations, edges and transitions relevant to future maintenance. Include the product and colour information in the same folder. Manufacturer document libraries help identify the installation literature to retain for the selected system.
Avoid publishing images that reveal unnecessary private details of your home. The record can stay with the owner and still serve its purpose.
Check the promised images at the walkthrough. A missing finished view can be taken later; a missing photograph of hidden work usually cannot. That is why the timing of this small request matters.