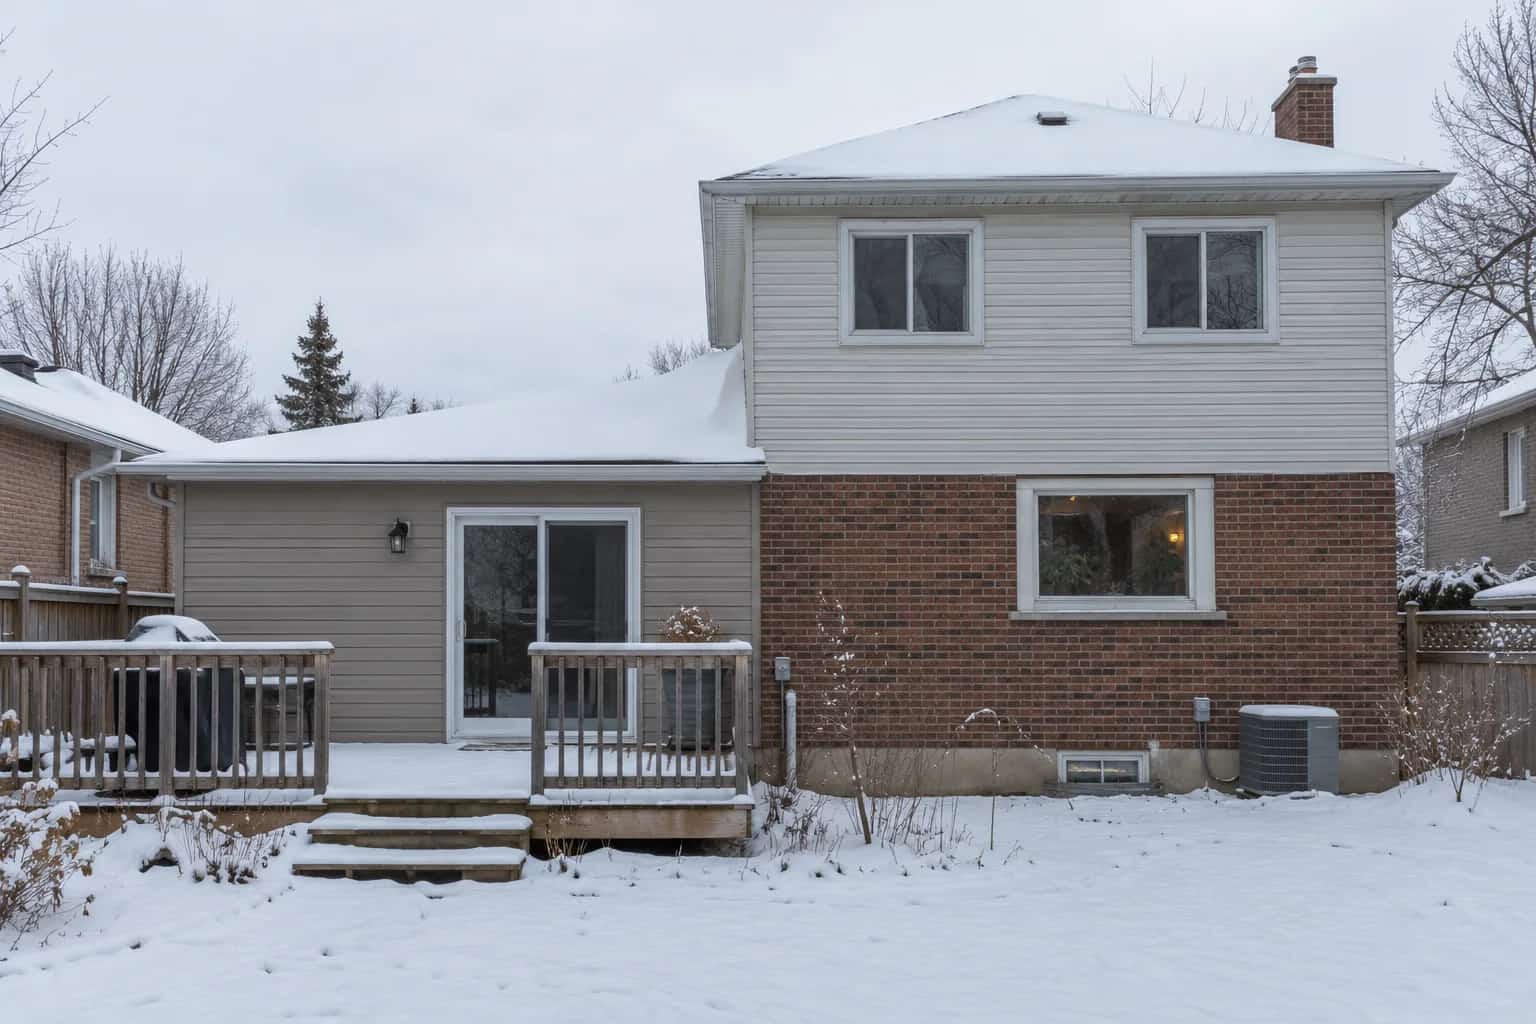
Ben wants the patio roof to match the house. He is tall enough that Mike first asks him to stand where the outside beam would land. The sketch has plenty of room for attractive shingles and surprisingly little room for Ben. Before colour samples, we need a section through the proposed roof.
A patio roof can fit nicely on a plan and fail to fit on the house. The usual conflict is height: the attachment must sit below an existing window or eave, the new roof needs slope, and the outside beam still has to leave comfortable, compliant headroom.
Start with a section drawing through the house and patio. It should show the high connection, the roof build-up, the low beam and the finished walking surface. Choose the covering after those dimensions work together.
Work downward from the available attachment height
A shallow roof does not gain extra height just because shingles would match the house. Each roofing system has slope and installation requirements. Flattening the design to squeeze it beneath a window can change which covering is suitable; our low-slope porch guide deals with that choice.
An uncomplicated arithmetic check helps explain the conflict. Over a 12-foot horizontal projection, a roof falling 2 inches per foot drops 24 inches. Framing depth sits below the roof surface as well. This is a geometry example, not a recommended patio pitch: the designer must establish the actual slope, structure and headroom.
Sometimes a shorter projection, a different roof form or a freestanding design gives a better result than forcing an attached lean-to into the available space. Those alternatives still need proper support and drainage.
The house wall is more than a mounting surface
The new structure needs a designed connection to suitable support. Siding, brick veneer and fascia should not be treated as convenient substitutes for a structural design. Likewise, an existing patio slab is not evidence that it contains suitable foundations for roof-supporting posts.
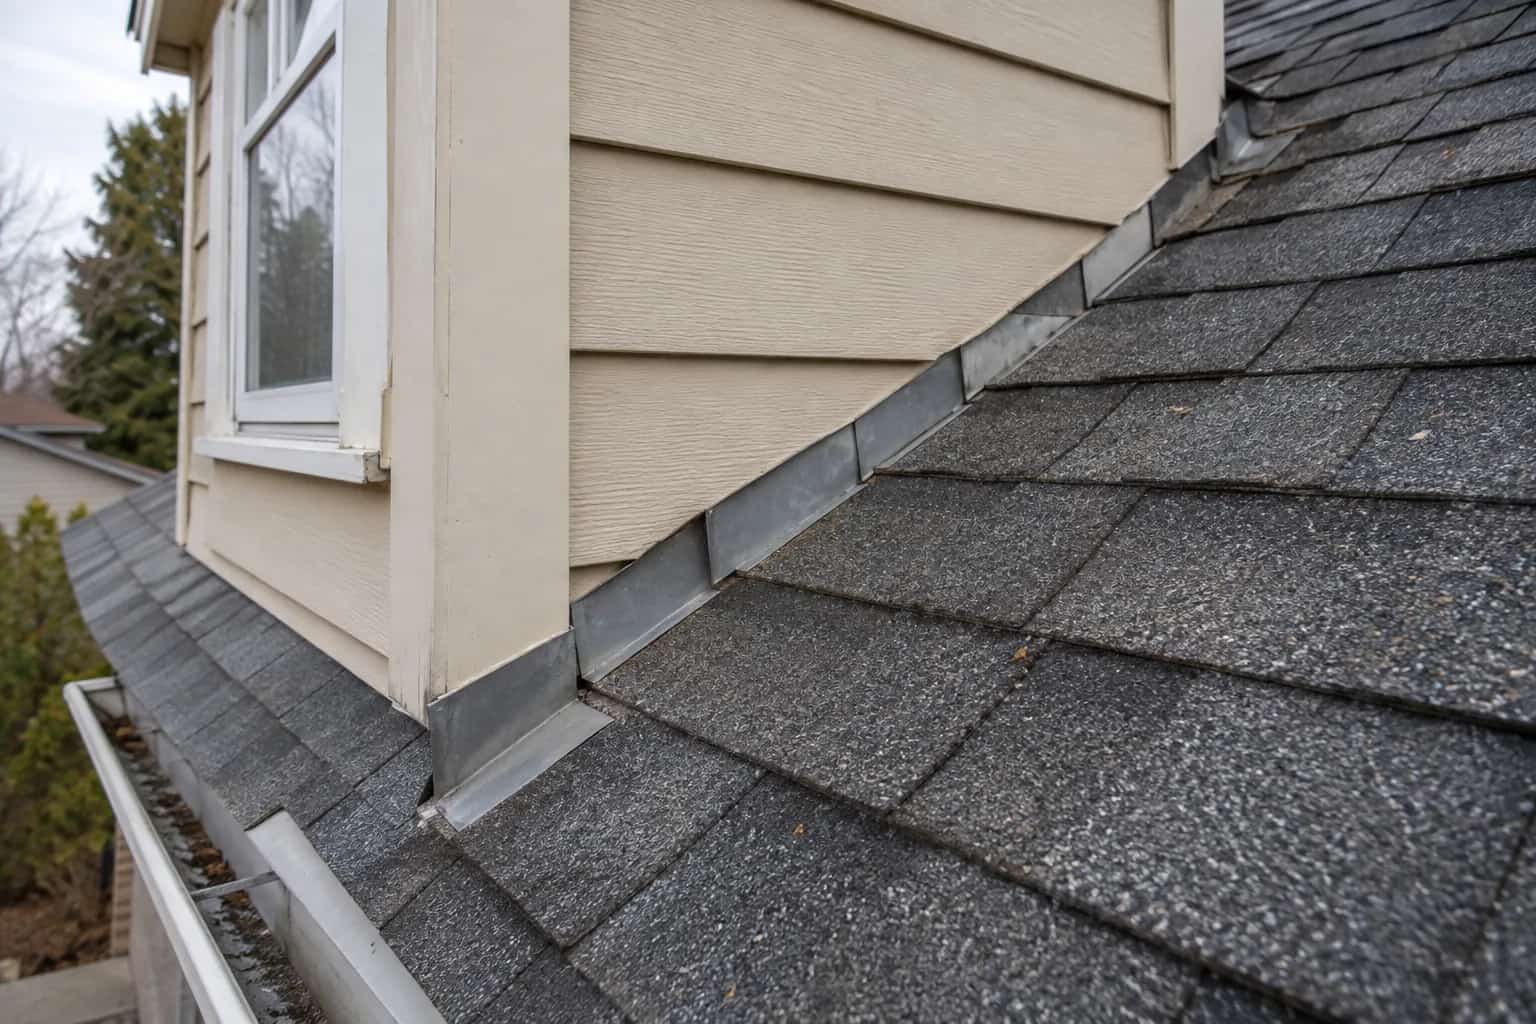
The weatherproofing connection deserves its own detail. Water coming down the wall must be directed onto the new roof and out, including at the ends of the junction. Ask what has to be opened or removed to build that connection. A bead along the top of a surface-mounted trim is not a complete answer to how the wall drains.
Check the municipal process early. Toronto lists additions and structural alterations among work requiring permits, and its exemptions for some uncovered decks should not be assumed to cover a roofed patio. Your own municipality must confirm the requirements, including zoning and setbacks.
Dave marks the high connection and the lower edge, then adds the space occupied by the roof and beam. Ben watches the useful headroom shrink. "We have designed a very expensive forehead detector," he says. Changing the geometry now is much cheaper than discovering it with the posts in place.
For a vehicle shelter, the attached-versus-detached carport comparison adds parking, door movement and driveway drainage to the design.
Four decisions to put on the patio section
Resolve the physical space and support before selecting a roof finish.
House connection
Locate sound support and a workable flashing junction below windows and existing eaves.
Roof geometry
Fit the selected pitch, framing depth and required headroom together.
Loads and foundations
Design for the roof weight, local snow and the neighbouring roof configuration.
Water exit
Show the gutter, downspout and suitable discharge route beyond the sitting area.
The upper roof now has something beneath it
A new lower roof changes where water and snow arrive. Give the designer the upper-roof shape, gutter and downspout locations. National Research Council research documents snow accumulation at changes in roof height. Drifting beside a taller wall or sliding from an upper slope needs consideration in the structural design; it cannot be reduced to the weight of the patio covering alone.
Pat traces Ben's rain route too: the existing downspout, the new covering and the proposed outlet. Does it empty beside the patio door, across a walkway or toward the neighbour? Ben wants somewhere dry to sit. Discovering an icy exit afterward would be an unhelpful addition to the design.
Ask for one drawing that carries the drainage all the way to a suitable discharge location. The roof's edge is only the halfway point.
The last snag is the existing downspout, exactly where Ben has drawn his favourite chair. Nobody needs to settle the furniture layout today, but the water needs a deliberate destination. The final plan has to work when the patio is being used and when nobody wants to go outside at all.
If the new deck will hide a downspout, resolve its outlet, drainage fall and future service access before the boards go down.