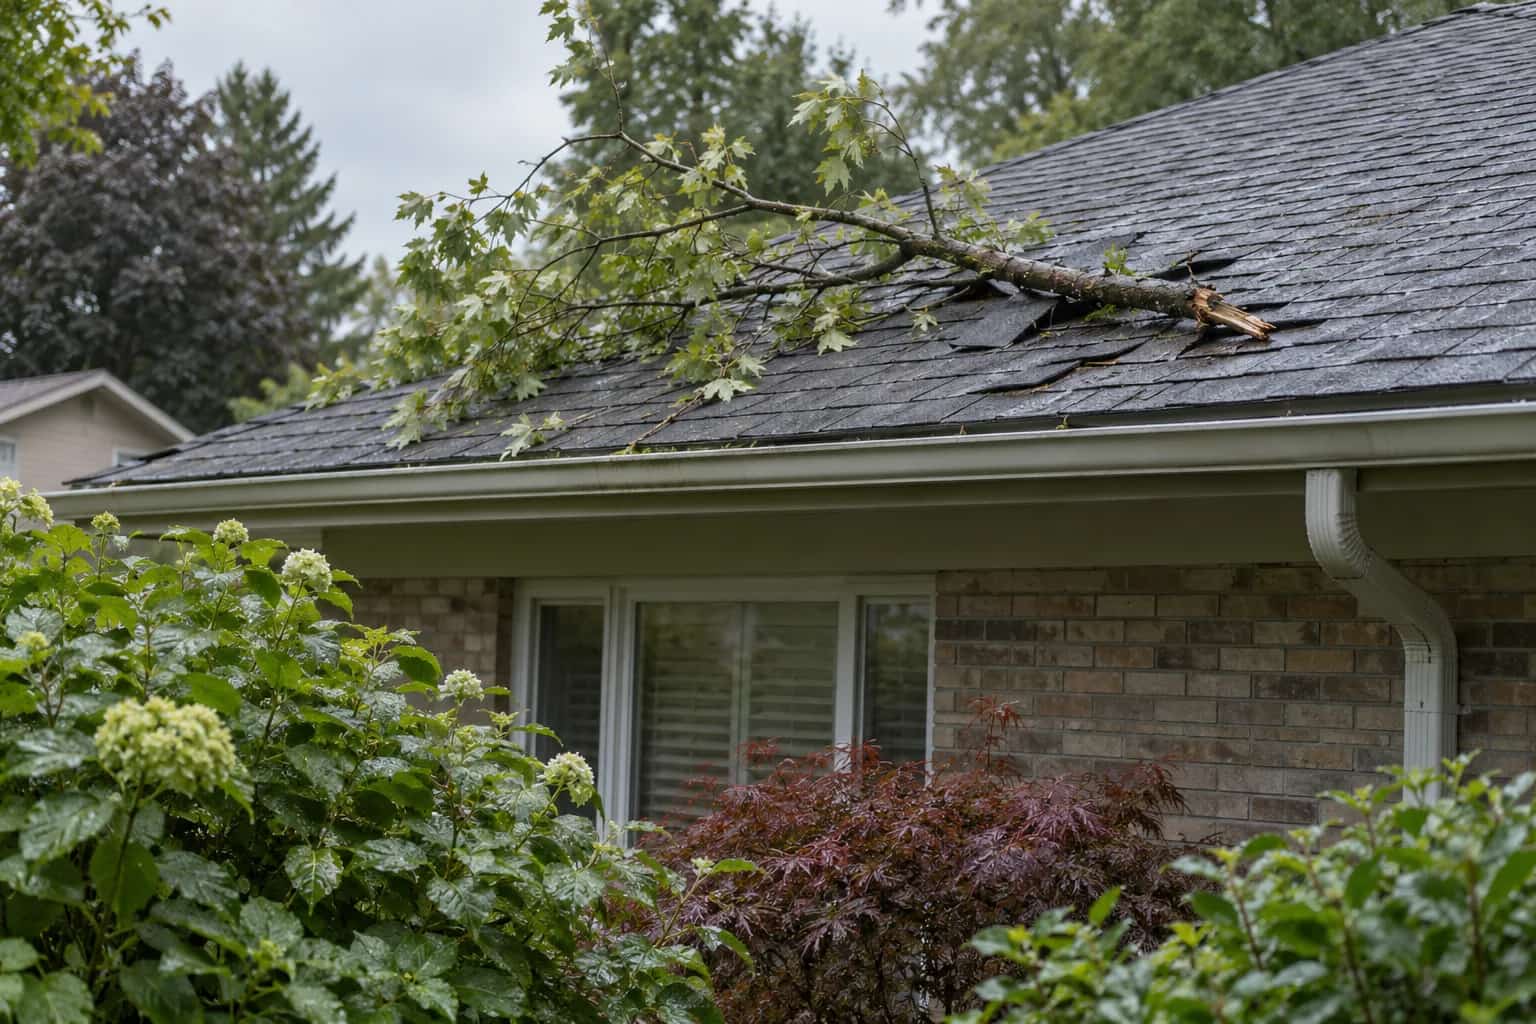
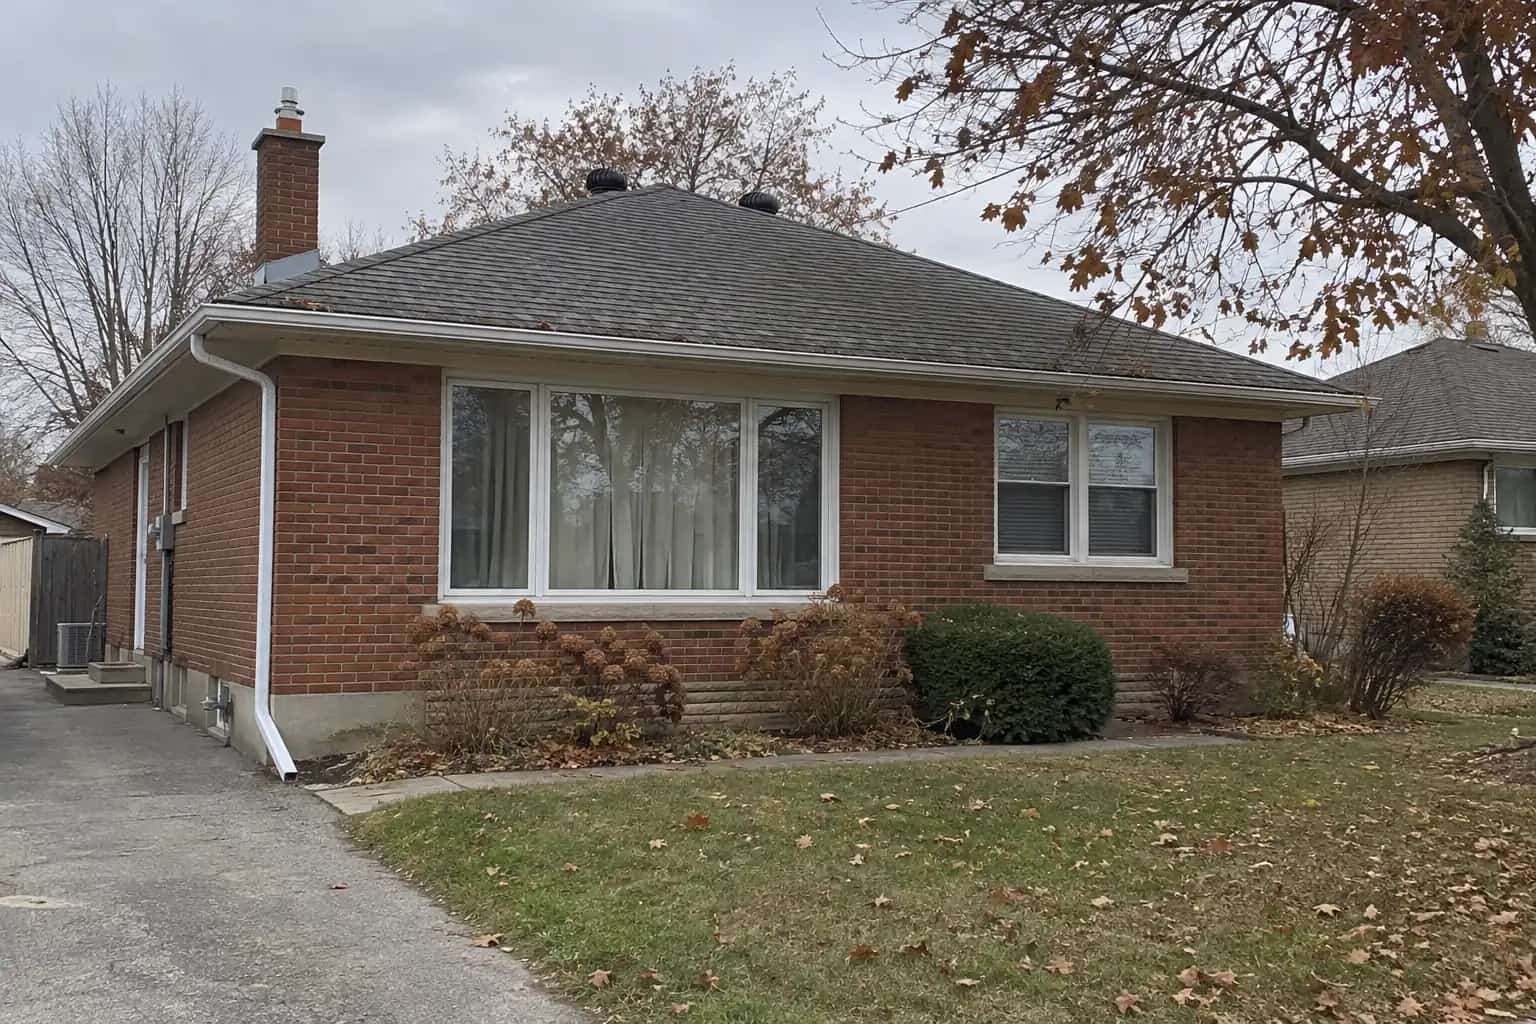
The first photograph filled Dave's phone with torn grey material. He turned it sideways. Then back. "Roof, gutter, or something the dog found?" The second image showed the rear garage edge, and suddenly the first one made sense.
Take the wide view before the close-up. A recognisable house and a labelled location give the roofer somewhere to start. More magnification cannot supply a missing address on the roof.
Stay on safe ground. Do not stand under loose flashing, loaded branches or hanging ice to improve the angle. If electrical lines are damaged, keep away and contact the utility or emergency services before any photography.
Give every detail a location
A useful first message can be only three images: the affected side of the house, the changed feature, and the room below if there is an indoor symptom. Label them "rear garage edge" or "ceiling beside upstairs bathroom." That small set gives someone enough context to begin. Keep the additional originals available if the inspector needs them.
We used "rear garage edge" because everyone could place it. Compass directions are useful when known, but a guessed north arrow adds confusion with impressive confidence. On a sketch, the front door and the affected feature were enough to orient the inspection.
A photograph from a publicly accessible or permitted ground location is enough. Do not enter a neighbour's property without permission or climb a fence to complete the set. Tell the inspector which slopes you could not see.
Build a record from wide to specific
Each view adds context the next view cannot supply on its own.
Whole elevation
Identify the side of the house and the surrounding roof shape.
Affected feature
Show the vent, edge, branch impact or missing section in context.
Visible detail
Use zoom from the same safe position; keep the original image.
Indoor location
Pair any stain photograph with its room and time of observation.
Record what happened, not what you think it proves
Pat renamed the image "rear garage edge after wind" and deleted the diagnosis from the draft message. We had not inspected the fasteners. Saying the metal had lifted was accurate; saying why it lifted was getting ahead of the photograph. The useful message was shorter once it stopped trying to be an inspection report.
Useful notes include:
- Approximate storm and observation times.
- Rain, hail, wind, snow or branch impact that you personally observed.
- When an indoor drip started and stopped.
- Any emergency protection already installed.
- Known older marks or repairs near the same place.
Weather alerts can be saved as context, but an alert for the region does not prove the exact conditions at your house. Similarly, a photograph of a neighbour's missing shingles is not evidence of your roof's condition.
Photograph a ceiling mark in relation to a wall, window or fixture, then take a closer image. If safe, repeat from the same position later so changes are easier to compare. Keep clear of bulging ceilings and water near electrical equipment; do not touch or puncture them to help the photograph.
Recording whether a stain is active requires more than its colour. Timing and repeat observations help the contractor decide where moisture testing or further investigation may be useful.
What we actually send
Keep original files with their dates. Make annotated copies if arrows help, so the inspector can still examine the unedited image.
The Insurance Bureau of Canada recommends photographs as part of hail-damage documentation. Apply the same organised approach to other storms, while checking your insurer's specific reporting instructions.
We sent the wide view, the detail and the relevant indoor symptom, with the originals kept aside. Dave no longer had to identify a roof from six anonymous grey pixels. That is a modest achievement, but a surprisingly helpful one on a busy storm morning.