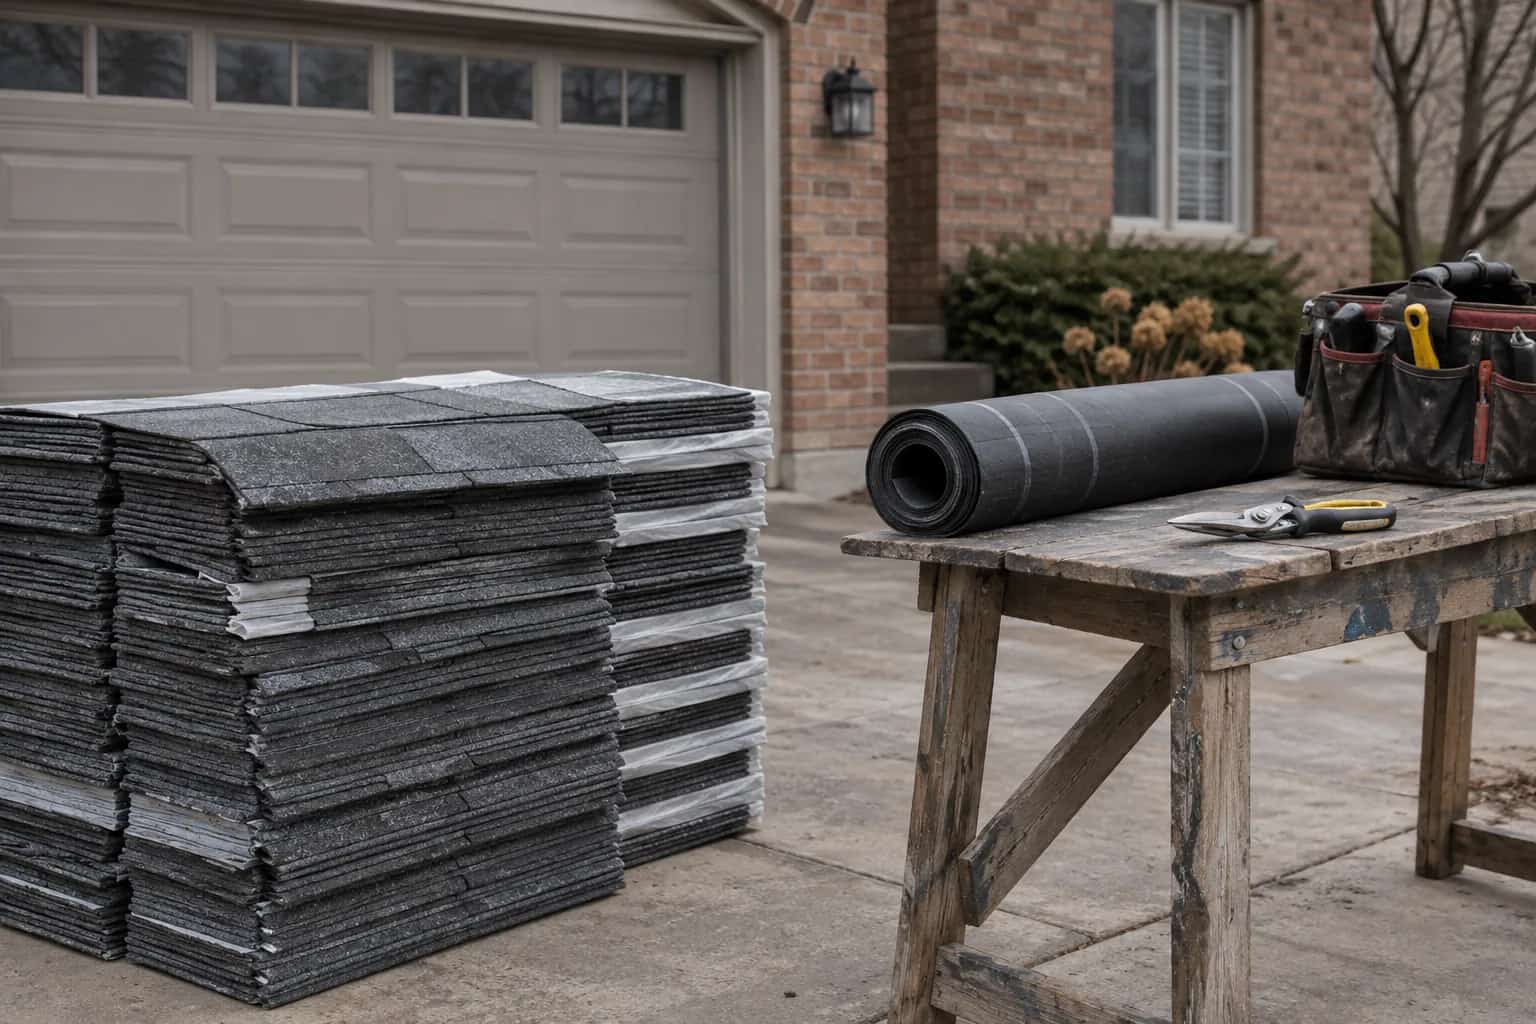
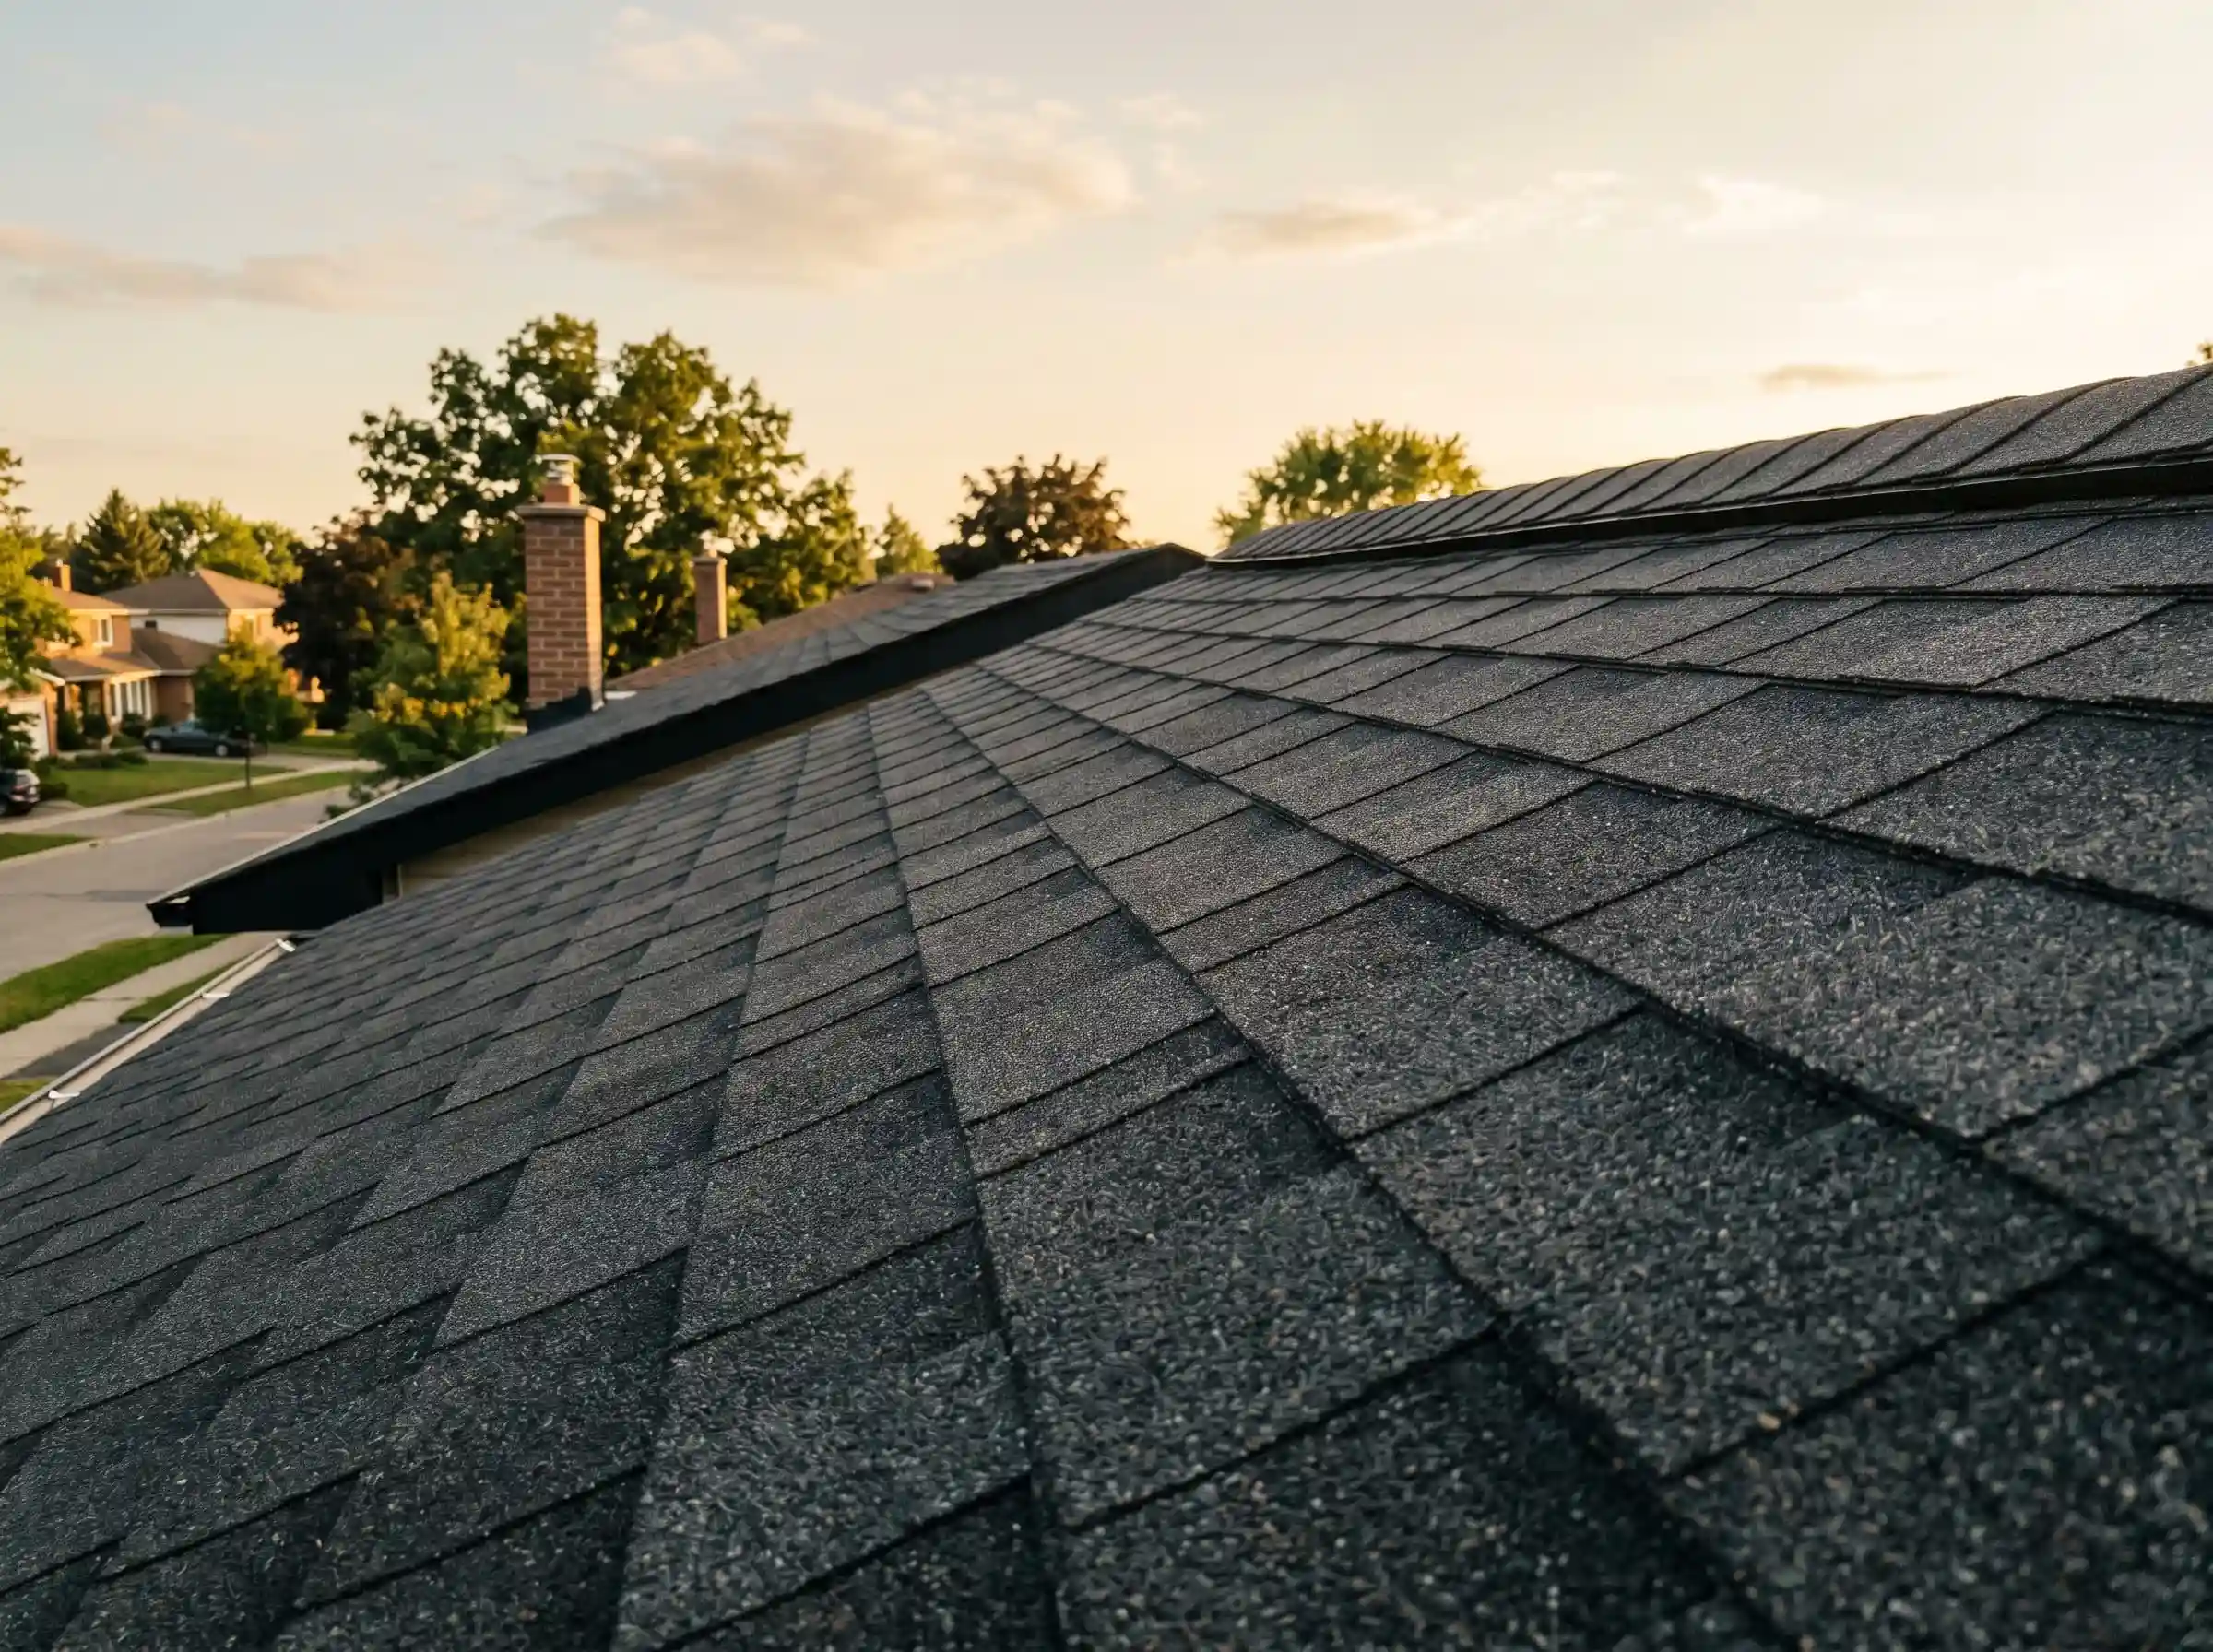
The quotation lists shingles, underlayment and a starter strip. You can see why the first two belong there. The starter sounds suspiciously like something the roofer might already have left over.
Starter shingles are a specified edge component beneath the first field course. Their arrangement helps the roof begin correctly at its exposed boundaries. Do not assume any strip of shingle will do the same job. We want the named product or permitted alternative, its installation detail and a photograph before the first course makes it disappear.
Why the Bottom Row Needs Help
Joints between shingles in the first course need an appropriate layer beneath them. The edge also needs the intended sealing arrangement to resist lifting. The starter's position connects those jobs to the rest of the covering.
IKO's roof-component guide identifies starter strips as a distinct component at roof edges. The exact application still comes from the instructions for the chosen starter and shingle.
An eave is the lower edge where water leaves the slope. A rake is a sloping side edge, commonly beside a gable. Both are exposed boundaries, but their surrounding details differ. Do not assume one photograph of the front gutter proves the starters were correctly installed around the whole roof.
Orientation and Joints Matter
A strip placed in the wrong position may not put its sealant where the first course needs it. Joint alignment, overhang and fastening also need to follow the selected system's directions.
Similarly, using cut field shingles is acceptable only where the system permits that method and it is carried out correctly. A convenient offcut does not establish compatibility. Ask what will actually be installed rather than debating the general merits of a brand name.
Dave lays the starter beside the first field shingle before either disappears into the roof. Pat asks why the factory sealant sits there. It is a useful question, because the answer has to match this product's instructions, not someone's memory of the last brand.
Mike asks for the photograph now. After completion, everyone can admire the first course, but nobody can see all the preparation beneath it. The modest-looking starter gets its moment in the record before the more photogenic shingles take over.
The plastic release strip and active sealant have different jobs; identify which one you are looking at before questioning the installation.
How This Appears in a Quote
A clear estimate names the starter and describes its use at the required edges. It should be consistent with any enhanced wind coverage being offered. If the quote promises a roofing system, ask whether the accessories needed for that system are included.
The starter is only one part of edge performance. Drip edge, membrane, underlayment and gutter relationships also need to work together. Read eave and rake drip-edge details if water is getting behind the fascia.
If a proposal omits a named starter to reduce the price, compare it with the selected shingle instructions and any wind coverage being offered. The saving only makes sense if the alternative method is actually permitted and correctly detailed.
Do not confuse the starter with drip edge. The metal and the shingle component have different roles, even though both live along the same narrow strip of roof.
The Starter Sits Beneath the First Course
Each component has a different role at the edge.
Deck and protection
The supporting deck and specified membrane/underlayment come first.
Edge metal
Its eave/rake arrangement follows the selected roof system.
Starter
Named product, orientation, joints and fastening follow its instructions.
Field course
Covers the starter; request evidence before this layer hides it.
What the Installation Photograph Should Show
For the selected IKO example, the Leading Edge Plus instructions show a starter system used with the field shingles; the exact fastening, orientation and edge conditions belong to that product's instructions. Use them with the chosen shingle directions, not as a generic drawing for every roof. In that document, the starter is installed granule side up with the factory sealant beside the exposed edge, and the first field course finishes flush with the installed starter edges. Those visible relationships are useful items to ask the installation photographs to show; they are not dimensions or fastening instructions for a different product.
A practical request is: "Please photograph one eave, one rake and their meeting corner before the first course hides the starter, and identify the product used." Keep the wider location view with the detail. If a permitted cut-shingle method is proposed instead, have its applicable instruction identified before work.
The picture is a record for questions later, not a way for the homeowner to certify every fastening from the garden. Do not lift a completed sealed course to recreate the missing photograph. The useful opportunity was during installation.
If the edge needs repair, the work should restore the specified layers and seal. A bead along a visible gap is not evidence that a missing starter has been put right.
The finished roof will hide the starter. Let the record show that the right component was there before it disappeared under the first course.