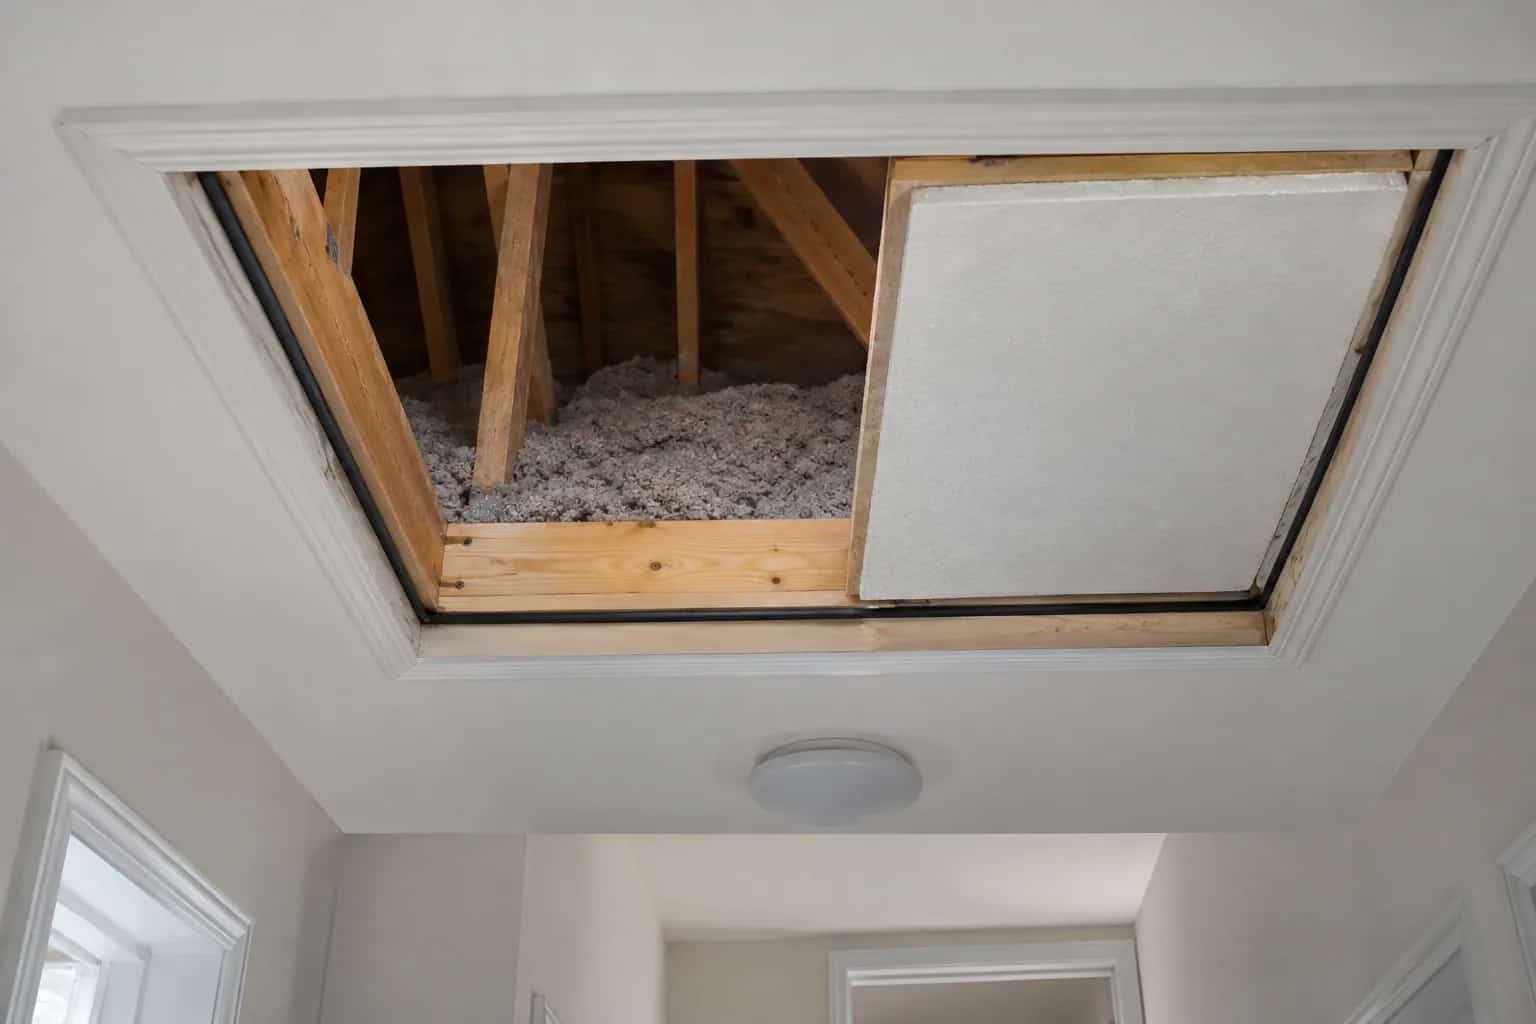
The hatch closes nicely until the last corner. Then it needs a shove. The homeowner has developed a very effective technique involving a broom handle, although it is not one we would put in the work specification.
Dave watches the panel settle crookedly. "Let's fix the closing part before we make it heavier."
That is the right order. An attic hatch needs insulation through the lid and an air seal around it. More insulation will not flatten the frame, straighten the panel or pull that fourth corner against a gasket.
Start With the Frame
A lid can rest on three corners while the fourth sits slightly high. More insulation on top will not pull that corner down. The repair needs a flat seat, a continuous gasket and a closure that brings the two together. That is why we would look at the fit before choosing the thickness of the insulation.
The trim visible from the hallway is not necessarily the air seal. Behind it, the rough opening may connect directly to the attic. An installer should assess the frame-to-ceiling connection, the gasket surface and the fit of the lid together. Weatherstripping stuck to uneven wood can leave gaps even when it looks new.
The national laboratory hatch specification pairs a durable gasket with a closure that holds the hatch in position. That is the detail to look for in a proposal: the panel must compress the seal without needing a person to stand underneath and push it up.
A warped panel, loose frame or badly located latch may need correcting before a new gasket earns its keep. Painting over a tired strip is not a repair; it usually makes the next adjustment more annoying.
A Flat Lid Needs Insulation That Stays Put
With the panel fitting properly, the insulation question becomes useful. It needs to stay attached and leave room for the lid to close. The broom can return to ordinary sweeping, and the next person servicing the attic should not need a demonstration from the homeowner.
Insulation should be securely attached and compatible with the hatch assembly. A loose batt that falls sideways each time the opening is used leaves an unreliable patch. The lid insulation needs to meet the surrounding layer without preventing closure; any foam also needs the protection required for that assembly.
A raised border around the opening helps keep loose-fill material from spilling into the house. Its height should suit the planned finished insulation level. It should also allow someone servicing the attic to replace the lid properly, without scooping insulation off the seat each time.
Pull-Down Stairs Need Room to Operate
Pull-down stairs require their own detail. The moving frame, spring mechanism and folded stair space make a simple flat-panel treatment unsuitable. An insulated enclosure must remain accessible and close without interfering with the ladder.
The hatch belongs to the air barrier
Insulation slows heat flow; the sealed ceiling and hatch stop indoor air from bypassing it. Outdoor ventilation stays above that boundary.
Schematic view. Shows relationships, not installation dimensions.
Ask for two completion views
One photograph should show the upper lid and insulation border. Another should show the perimeter seat before the lid closes. They answer different questions: whether insulation stays in place, and whether the panel can make an even seal.
A completion check should also include opening and closing the hatch normally. If closing it requires balancing a loose insulation bag or pushing one corner with a broom, the detail is not practical for the next service visit. Agree who will correct a poor fit before accepting the top-up as finished.
What you can check from the hallway
Before work, photograph the closed opening from below and note where drafts or staining occur. Afterward, check that the panel sits evenly and the closure works without force. A contractor using a blower-door test can assess leakage under controlled pressure; waving a hand near the hatch is much less conclusive.
Do not climb into the attic just to judge the repair. Ask for photographs of the upper insulation, border and perimeter seal. If old granular insulation or suspect wiring is encountered, the work needs assessment before disturbance.
The hatch is one part of air sealing before an insulation top-up. Repairing it can be worthwhile, but a tidy access opening should not distract from a disconnected bathroom duct or a large hidden ceiling gap elsewhere.