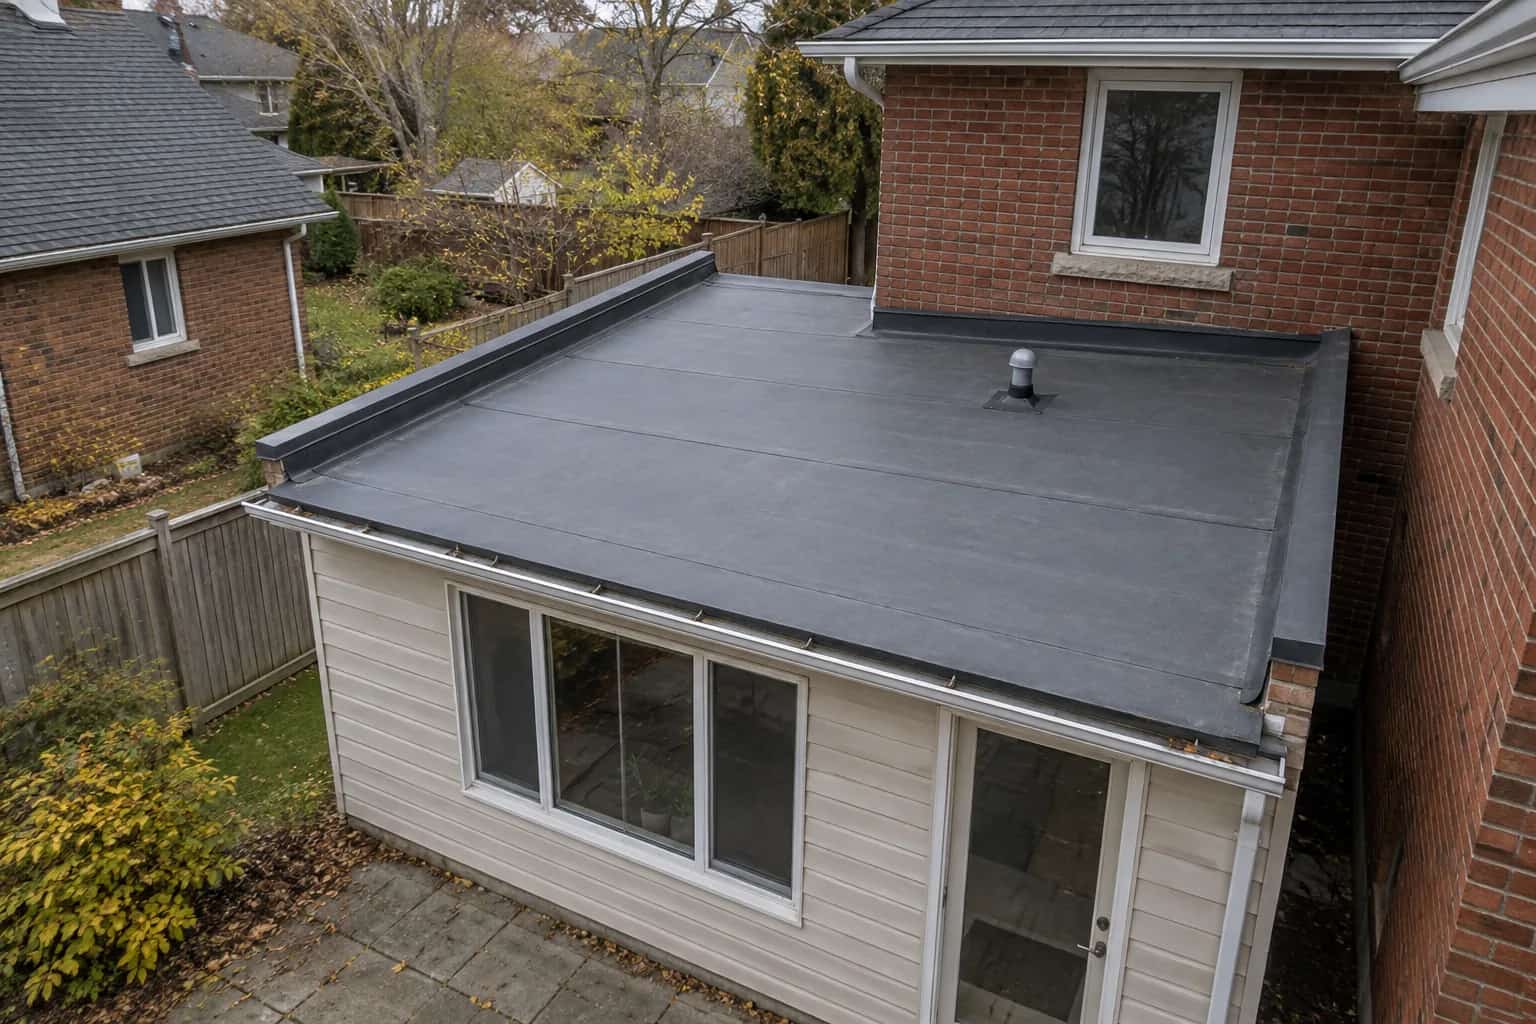
The new unit fits on the addition roof. Everyone agrees on that. Then Dave draws its service panel in the open position, straight through the wall beside it.
"It fits when nobody needs to touch it," he says.
The drawing needs another pass. Rooftop equipment needs structural support, a compatible roof connection, utility routes and working space for the next service visit. The delivery footprint is only one part of that space. A residential addition deserves this coordination just as much as a larger building.
Establish the Equipment Requirements
Obtain the actual unit dimensions, operating weight, support requirements and service clearances. Include any changes to ducts, piping, wiring and condensate drainage. A preliminary sketch based on a similar model is not enough for the final roof detail.
The appropriate professional should assess the structure and any approval requirements. Concentrated loads at supports differ from a uniformly distributed roof load. The curb and framing need to transfer forces appropriately without relying on the membrane to provide support.
Also consider vibration and movement. A connection that is watertight when static still needs to suit the equipment's operating conditions.
Set the Curb Height From the Finished Roof
The curb must project appropriately above the completed assembly, including insulation and any taper. A dimension measured from the deck can become inadequate after the roofing layers are installed.
Give the roofing contractor the equipment details early. They should identify a compatible curb-flashing arrangement for the selected membrane. IKO's technical library and InnoviTPO installation manual show the level of system-specific coordination involved.
Utilities need their own planned penetrations and supports. Routing a cable through a convenient corner after the flashing is complete can undermine an otherwise careful installation.
Place the unit and the next service visit
The installed unit needs future working space.
Support below
Confirm operating loads and support locations.
Roof junction
Coordinate the finished roof height and curb flashing.
Service space
Leave access to panels and each side needing roof maintenance.
Water route
Keep runoff and utility connections clear of improvised obstructions.
Draw the Service Visit Before Placing the Unit
The second layout moves the unit and leaves a place to stand while the panel is open. The roofer adds access around the curb and a route for uphill water. It is less satisfying than ordering the box immediately, but considerably more useful when someone has to repair it in February.
Which panel opens? Where does the technician stand? Where do removed parts go? A unit squeezed against a wall may fit on delivery day while making routine service and future flashing repairs awkward for years.
Water needs room too. A curb across the drainage route can create a pocket on its uphill side. The layout may need a diverter or a different position before the unit is installed, rather than discovering the puddle afterward.
Compatible walkway protection can protect repeated service routes. It does not replace safe access and fall protection, or make the membrane a storage area for tools.
The Opening Should Not Wait for the Roofer
The curb, utilities, delivery and waterproofing need a sequence that leaves the building protected between stages. If a crane arrives before the support or roofing detail is ready, the pressure to improvise is considerable and entirely avoidable.
For an InnoviTPO roof, section 4-2 of the Canadian installation manual is a specific vertical-surface and curb reference. Match it to the actual equipment curb and current project detail. A manufacturer's roof-flashing instruction does not supply the unit's structural supports or service clearances.
At handover, retain the concealed support and flashing photographs and the equipment service plan. The useful result is a unit that stays supported and accessible while the roof continues to drain around it.