
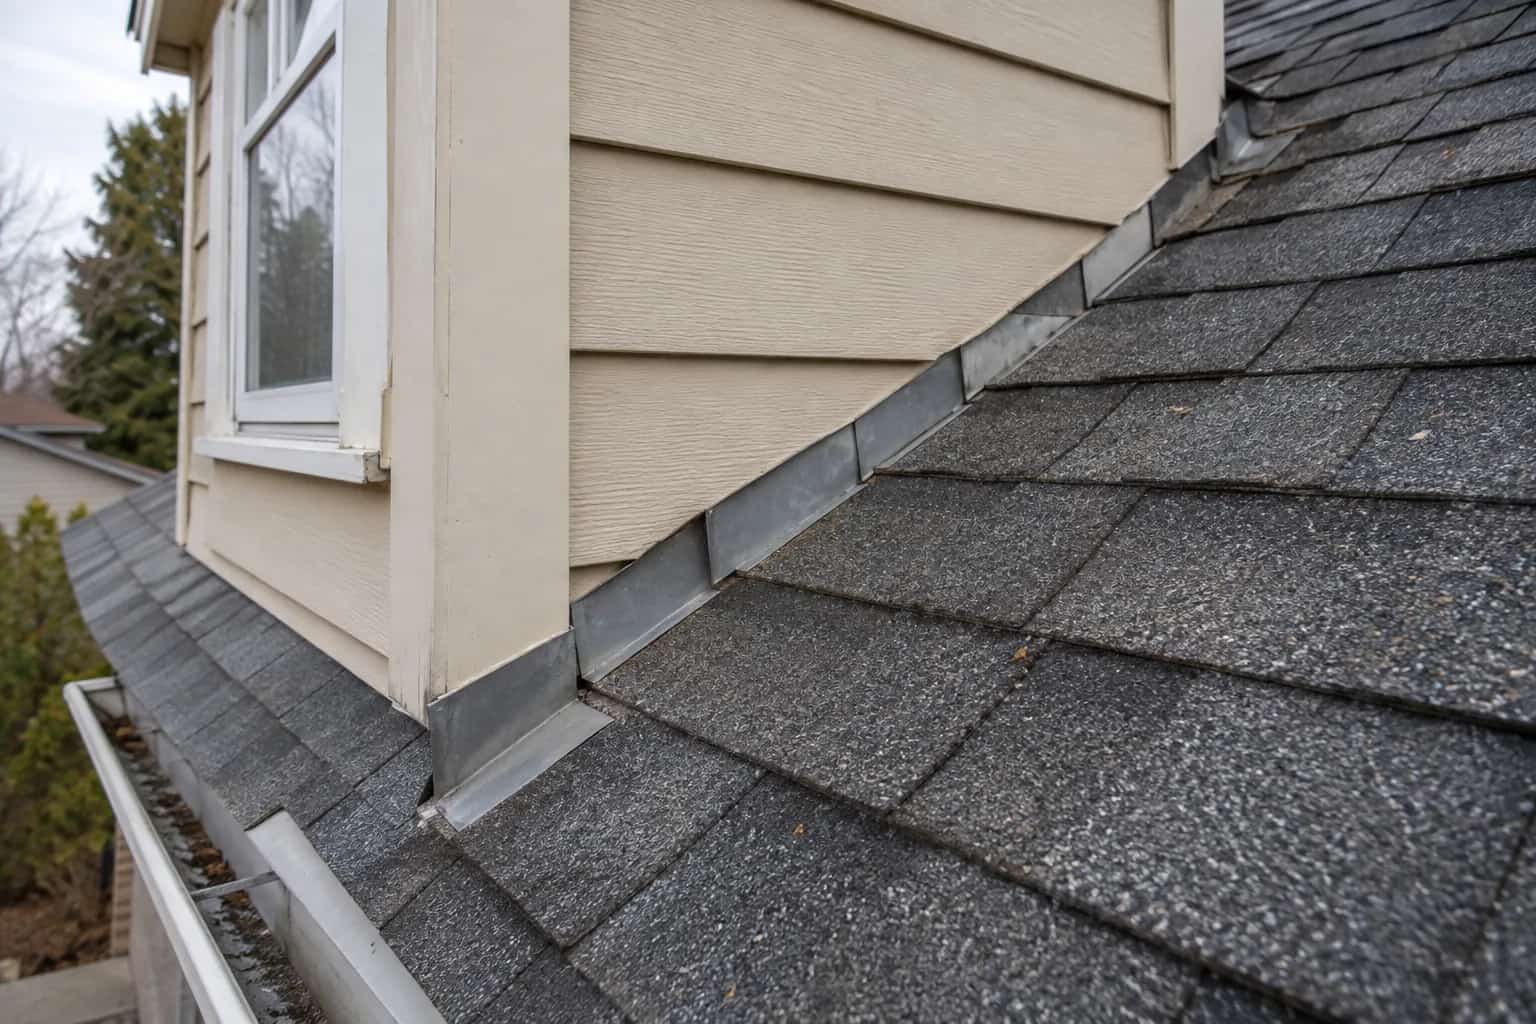
Dave pointed to the dormer's left corner. Pat, looking out from the bedroom, pointed to the other one. We were halfway into a flashing discussion and had already managed to select two different repairs.
Name the sides from an agreed viewpoint, then trace the water. A wet front corner can receive water from a side wall, window or uphill connection. The nearest cracked sealant is a clue, not automatically the source.
The useful first view is the whole dormer, not the closest cracked bead of sealant. Understanding its shape helps explain which surfaces can feed the symptom.
Agree which left you mean
For the inspection record, identify the dormer's front, left side, right side and uphill connection. Use the view from outside as your reference and say so. This sounds fussy until two contractors discuss the left corner from opposite sides of the wall.
Then locate the interior symptom against those references. A stain at the front corner may have a route along the side wall. Water can also arrive from above the dormer rather than from the small roof directly over the window.
IKO's flashing explanation includes dormers among the roof features requiring protected junctions. The shape of your dormer determines which details are present; not every dormer has the same roof arrangement.
Dormer sides are roof-to-wall junctions
The sidewall route combines wall drainage, step flashing and shingles. A sound visible seal at the top cannot prove that the concealed laps below it are correct.
Schematic view. Shows relationships, not installation dimensions.
The Straight Run May Be the Easy Part
Along a side wall, step flashing can follow a regular sequence. At the upper and lower corners, that sequence has to change direction and connect to something different. A tidy straight run can therefore coexist with a faulty end.
On the labelled overview we followed three possible routes toward that front lower stain: along the side-wall junction, through the window area, and down to a faulty lower discharge. Dave's original sealant suspect stayed on the list, but it lost its automatic conviction. We needed a route that explained the symptom, not simply the most photogenic crack.
Roof-to-wall flashing covers the concealed side connection. The window and cladding still need consideration when rain strikes the dormer face; roof flashing cannot repair a separate wall opening.
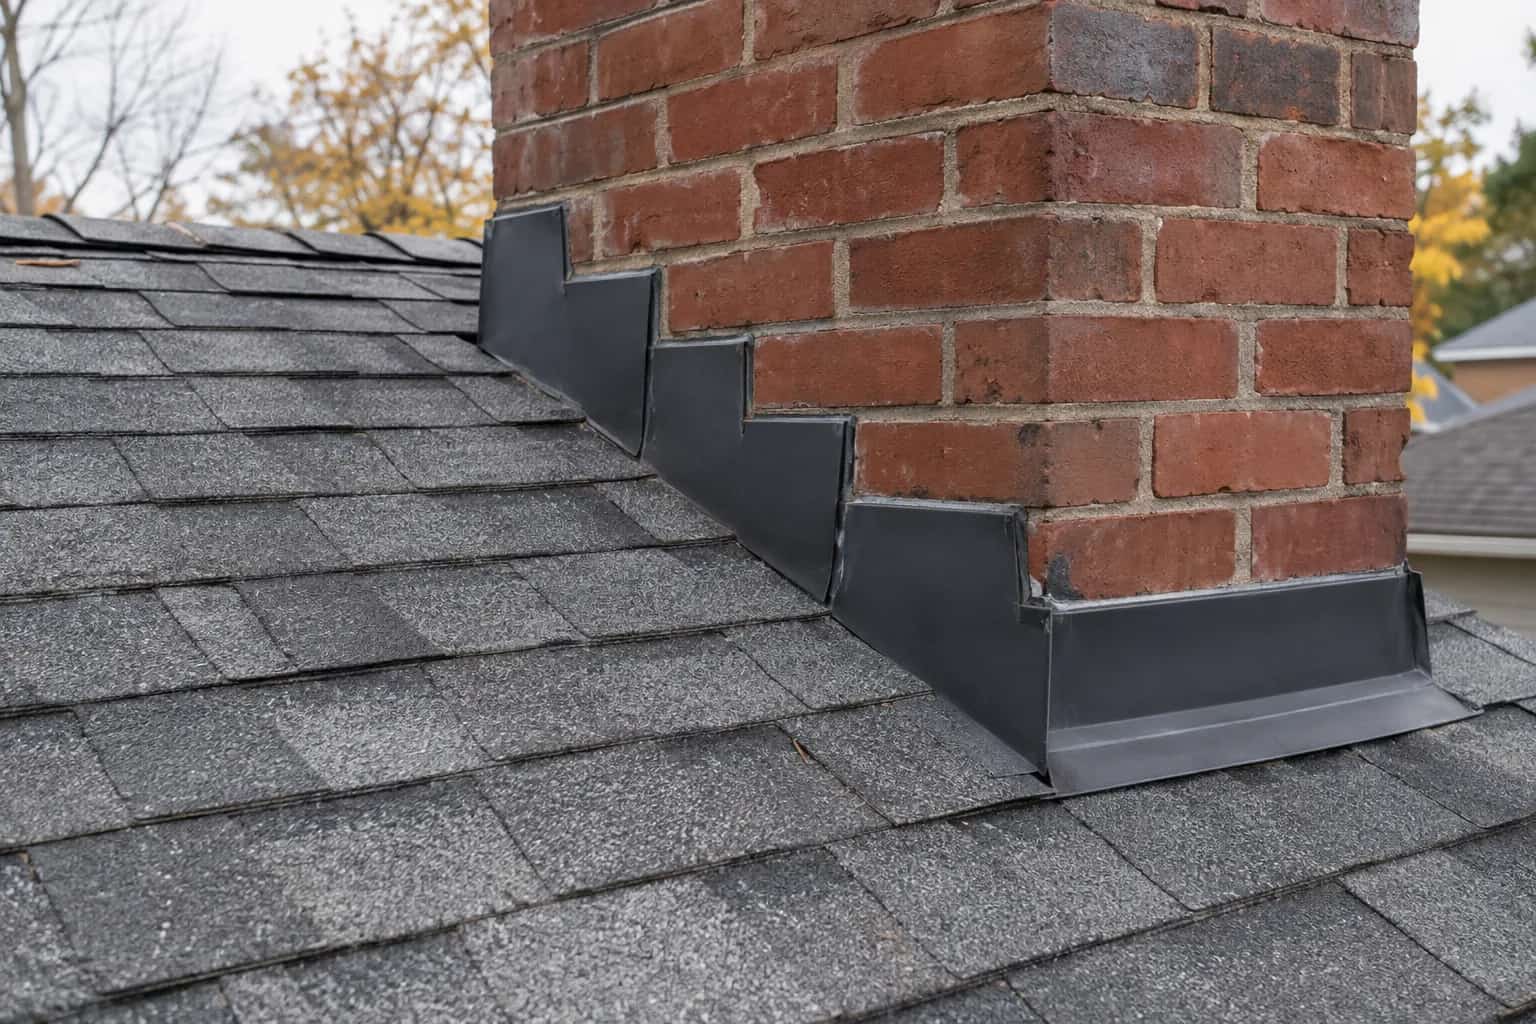
Weather Helps Sort the Possibilities
A leak only during rain against the dormer face suggests a different test sequence from one appearing whenever a valley carries heavy runoff. Snowmelt introduces another set of conditions. Write down the trigger instead of describing every event simply as bad weather.
For any professional water test, we wanted the labelled areas used again: controlled sections with someone observing inside. Wetting every surface together would recreate a wet bedroom without narrowing the cause. After sorting out left and right, we were not about to give up the location information by soaking the whole dormer at once.
Repair the Junction That Explains the Stain
A focused repair is worthwhile when the route is clear. If the route crosses a corner, the scope needs to include that transition, not stop at the easier straight section beside it. Siding access and damaged backing may be part of that local work.
The Department of Energy's roof-wall guidance explains the lower discharge principle. Product instructions determine the actual detail.
Use one labelled overview to identify what was repaired. On a dormer, "the left flashing" means different things depending on whether you are standing in the bedroom or looking from the street. Agreeing on the viewpoint is a small thing that prevents a surprisingly confusing conversation.
By the end, "left" meant the same side to everyone and the proposed repair included the relevant transition. That small naming agreement cost nothing. It saved a conversation that could otherwise have continued indefinitely from opposite sides of a window.