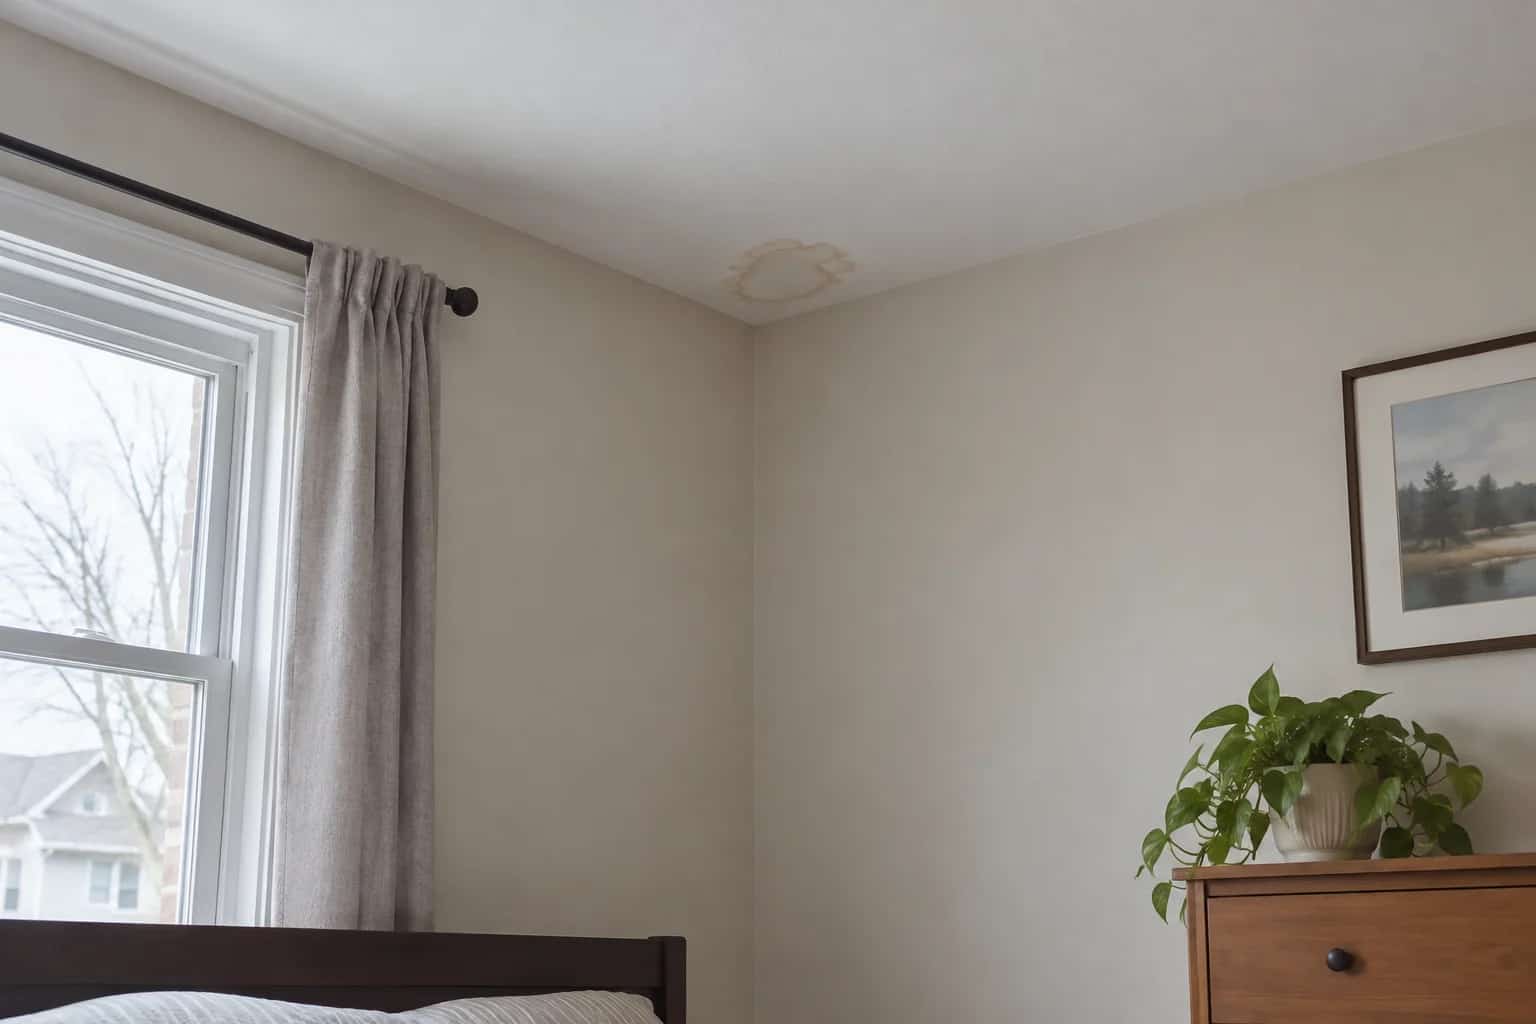
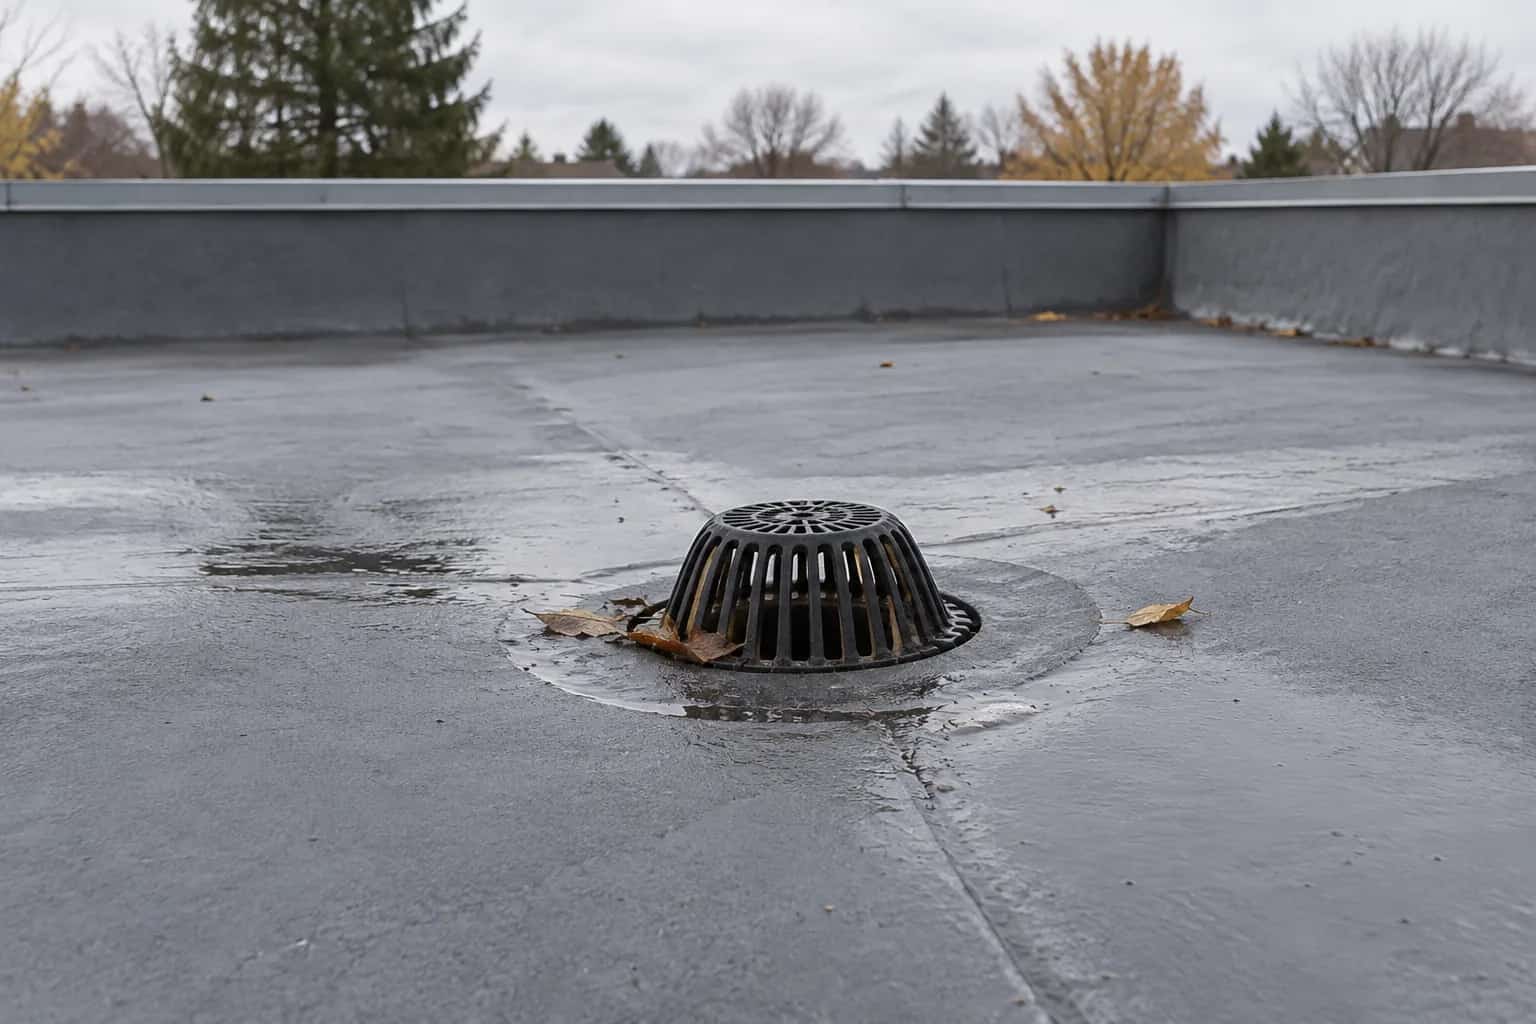
The roof inlet was clean enough to photograph for a brochure. Downstairs, a towel under the drip was doing a less glamorous job. Dave looked from the drain photo to the ceiling. "Clear isn't the same as watertight."
The leak can be at the membrane connection, in the drain body or along the internal pipe. Clearing leaves checks only the inlet obstruction. A roofer and plumber need a shared investigation when the fault may cross that boundary.
This is a good reason to coordinate a roofer and plumber early. Otherwise, each may inspect the part they usually repair while the connection between their scopes remains unexplained.
There Is More Than a Hole in the Roof
A conventional clamping roof drain brings several components together. The waterproof membrane meets the drain assembly; a clamping detail secures that transition; the drain body connects to piping that carries water through the building. The protective dome above it helps keep larger debris out.
Zurn's Z100 documentation identifies the body and membrane flashing clamp as separate components. Its RD91 installation drawing, revised January 2023, shows a particular concrete-deck installation. It is a useful explanation of the assembly, not a claim that your roof uses that model or deck construction.
That distinction matters when someone proposes tightening a ring or adding sealant. The actual drain, membrane and connection detail must be identified first. Homeowner dismantling can disturb an otherwise serviceable seal and make the original problem harder to isolate.
What the Rain Pattern Can Tell You
A drip that begins as soon as water passes through the drain gives the investigator a different starting clue from a leak that begins only after water backs up around it. Neither pattern is a diagnosis. A downstream defect can leak during flow; an elevated defect may become wet only as water rises. Several faults can coexist.
Also distinguish the pipe's location from the stain's location. Water can travel along a surface before dropping onto the ceiling. A stain directly beneath the visible drain may be helpful, but it does not eliminate the surrounding roof from the investigation.
Before the two trades divided the inspection, we compared the work history. Reroofing, a new extension, a pipe-joint repair or ceiling work could all change where to start. Passing that history to both contractors gave them more to work with than two separate questions about whether their own portion looked fine.
Three Places Water Can Escape
The visible strainer covers only the entrance to this route.
Membrane connection
Check how roof waterproofing meets the identified drain.
Drain body
Assess the assembly and its joints or extensions.
Pipe connection
Inspect the transition to internal drainage piping.
Downstream route
Follow pipe defects and water travel to the interior symptom.
Put both trades on the same drawing
The contractors may plan controlled testing that examines one portion of the route at a time, with someone monitoring the interior and limits on how much water is introduced. Let them choose the method. Deliberately plugging a roof drain or flooding a roof is not a casual diagnostic exercise; the building's loading, overflow and leak exposure matter.
We put the roofer's view and the plumber's view on the same sketch. Pat marked the junction between them. "Nobody gets to call this somebody else's dot." Before repair, the identified failure had to match the work: rebuilding the membrane connection would not mend a split pipe, and opening the ceiling for a pipe joint would not correct a deficient flange.
Our blocked roof-drain guide covers restricted flow. This problem asks a different question: does water stay contained all the way from the roof surface into the drainage piping? Verification after repair should address that entire repaired route, including the junction between the trades.