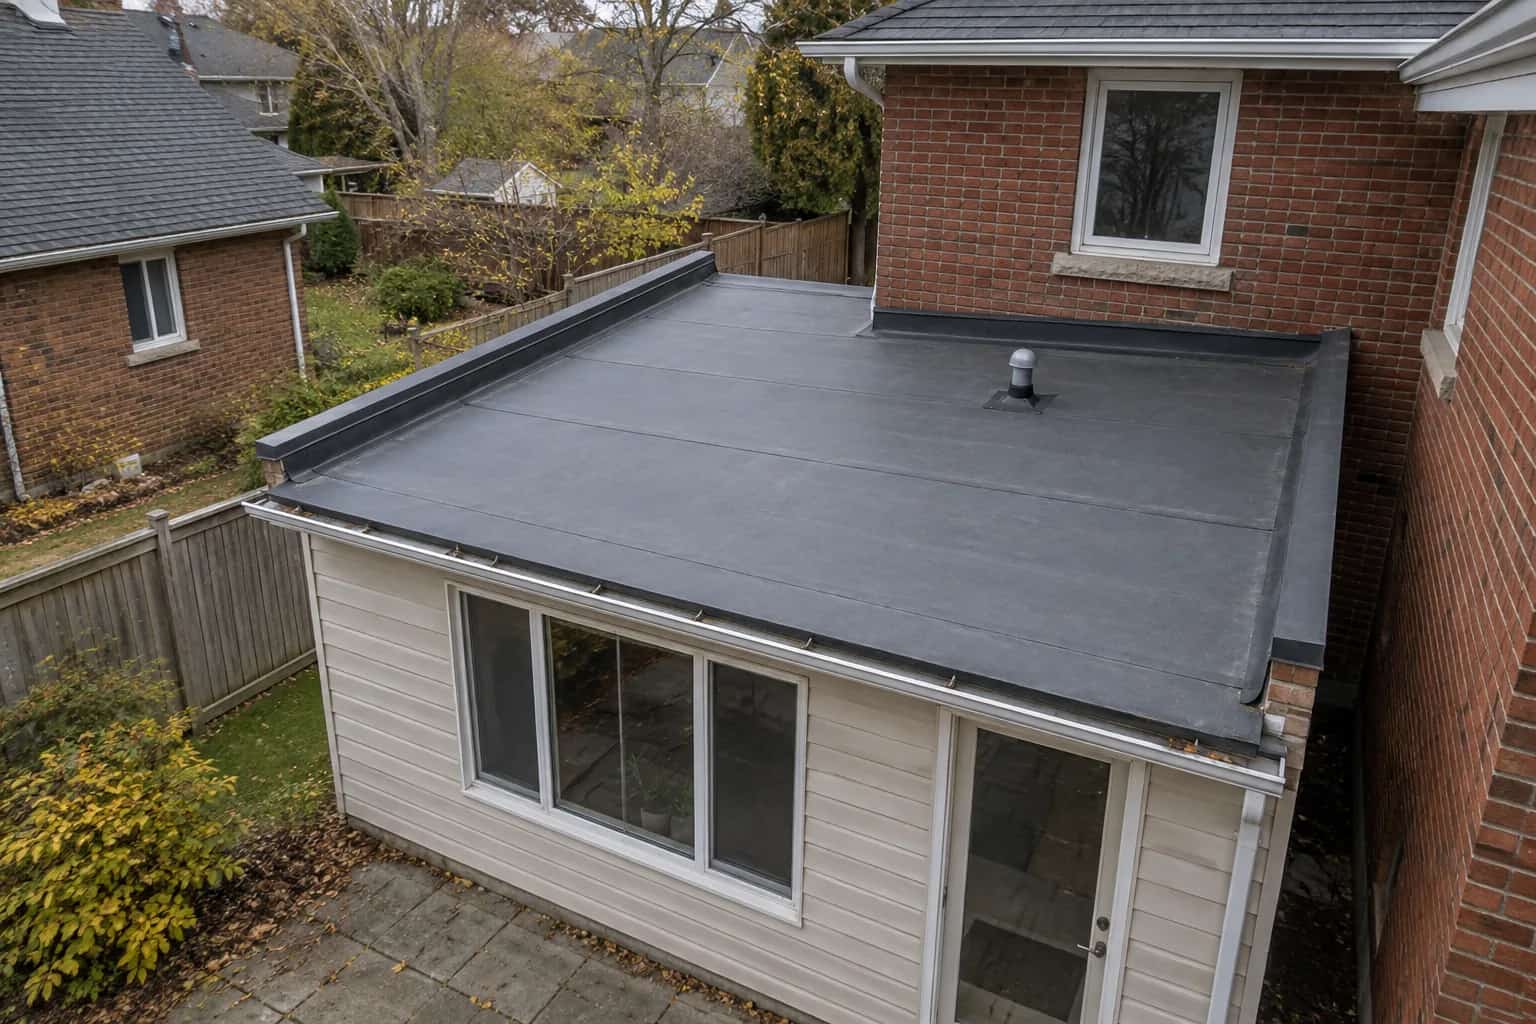
The low-slope roof looks sound. The ceiling beside its edge is wet again. Before paying for another patch in the horizontal membrane, look at the cap on the wall above it.
Parapet coping protects the wall top; the membrane upstand protects a different connection below. A defect in the cap, joint or concealed support can send water down the wall to a stain well away from the entry. We want the inspection to follow that whole route, not stop at the first convenient patch of roofing.
Metal Moves; the Joint Has to Allow for It
A coping joint needs to manage rain while accommodating temperature-related movement. Its shape, laps, underlying protection and attachment are part of that job. A fresh bead can be appropriate maintenance in the right detail, but it cannot establish that the concealed connection is sound.
IKO's commercial details show the relationship between roof systems and wall edges. The membrane, parapet and cap need to be considered together.
The Stain May Begin Above the Roof
Water below a parapet can originate at the cap, wall face, roof flashing or a nearby penetration. Wind-driven rain may expose a defect that stays quiet during a gentle vertical shower.
Document which weather brings the stain back. Include wind direction if you know it and photographs of the interior location. This does not diagnose the source, but it helps the inspector decide which details deserve closer attention.
Mike starts with the stain below the roof edge. Dave interrupts before the conversation becomes a membrane-patch quotation: "What did the cap look like?" There is no close photograph of it yet.
The first inspection was aimed too low. A bright new patch would look reassuring from the window while leaving a possible entry above it untouched. Pat adds the coping joints, fixings and wall connections to the inspection record. Now the repair scope has to follow the water route, instead of following the most convenient surface to replace.
Coping Protects the Wall Top
The metal cap covers the parapet top and projects past both faces so its drip edges shed water clear of the wall. Beneath it, the roof membrane has its own continuous upstand. A sound cap does not repair a failed membrane connection, and a sound upstand does not repair loose coping or leaking cap joints. Fixings and joints are omitted here.
Conceptual drawing. Product details, dimensions and attachment requirements are not shown.
Ask for the Joint Detail Under the Cap
A useful reference is Carlisle's SecurEdge CF snap-on coping. The manufacturer identifies coping clips, concealed splice plates and a cap as separate parts. Its internal splice arrangement is designed without a caulked joint. That does not mean other coping systems must use the same parts; it shows why "seal all the joints" can be the wrong description of a repair.
For your roof, request a section showing the cap, attachment to sound backing, joint or splice arrangement and waterproofing connection beneath it. Have the contractor identify the actual model or fabricated design. A tested product still needs the correct project-specific configuration and installation.
Consider two findings after wind. One cap has loosened because an otherwise sound attachment was damaged. Another sits over wet, deteriorated backing. Replacing visible screws may appear to fix both from a distance; only the second requires the underlying support and water route to be investigated as part of the repair. The completion photo should be taken before the cap hides that work.
Local Joint Repair or Opening the Wall Top?
A serviceable cap with one defined joint defect may need limited work. Loose attachment, wet backing or a failed membrane connection beneath it can justify lifting the coping and rebuilding more of the detail. The finding should explain the difference in scope.
Masonry work should be sequenced before final flashing where it would otherwise disturb the new repair. Loose metal after wind needs prompt attention, with people kept clear below it; do not reach from a ladder to push it back.
The upstand guide covers the vertical waterproofing below the cap. One protects the wall top and the other joins the roof to the wall face. Both have to work for that roof edge to stay dry.
The next rain should test the repaired route, not another unexamined patch below it. Keep the cap, wall and upstand findings together for that comparison.