
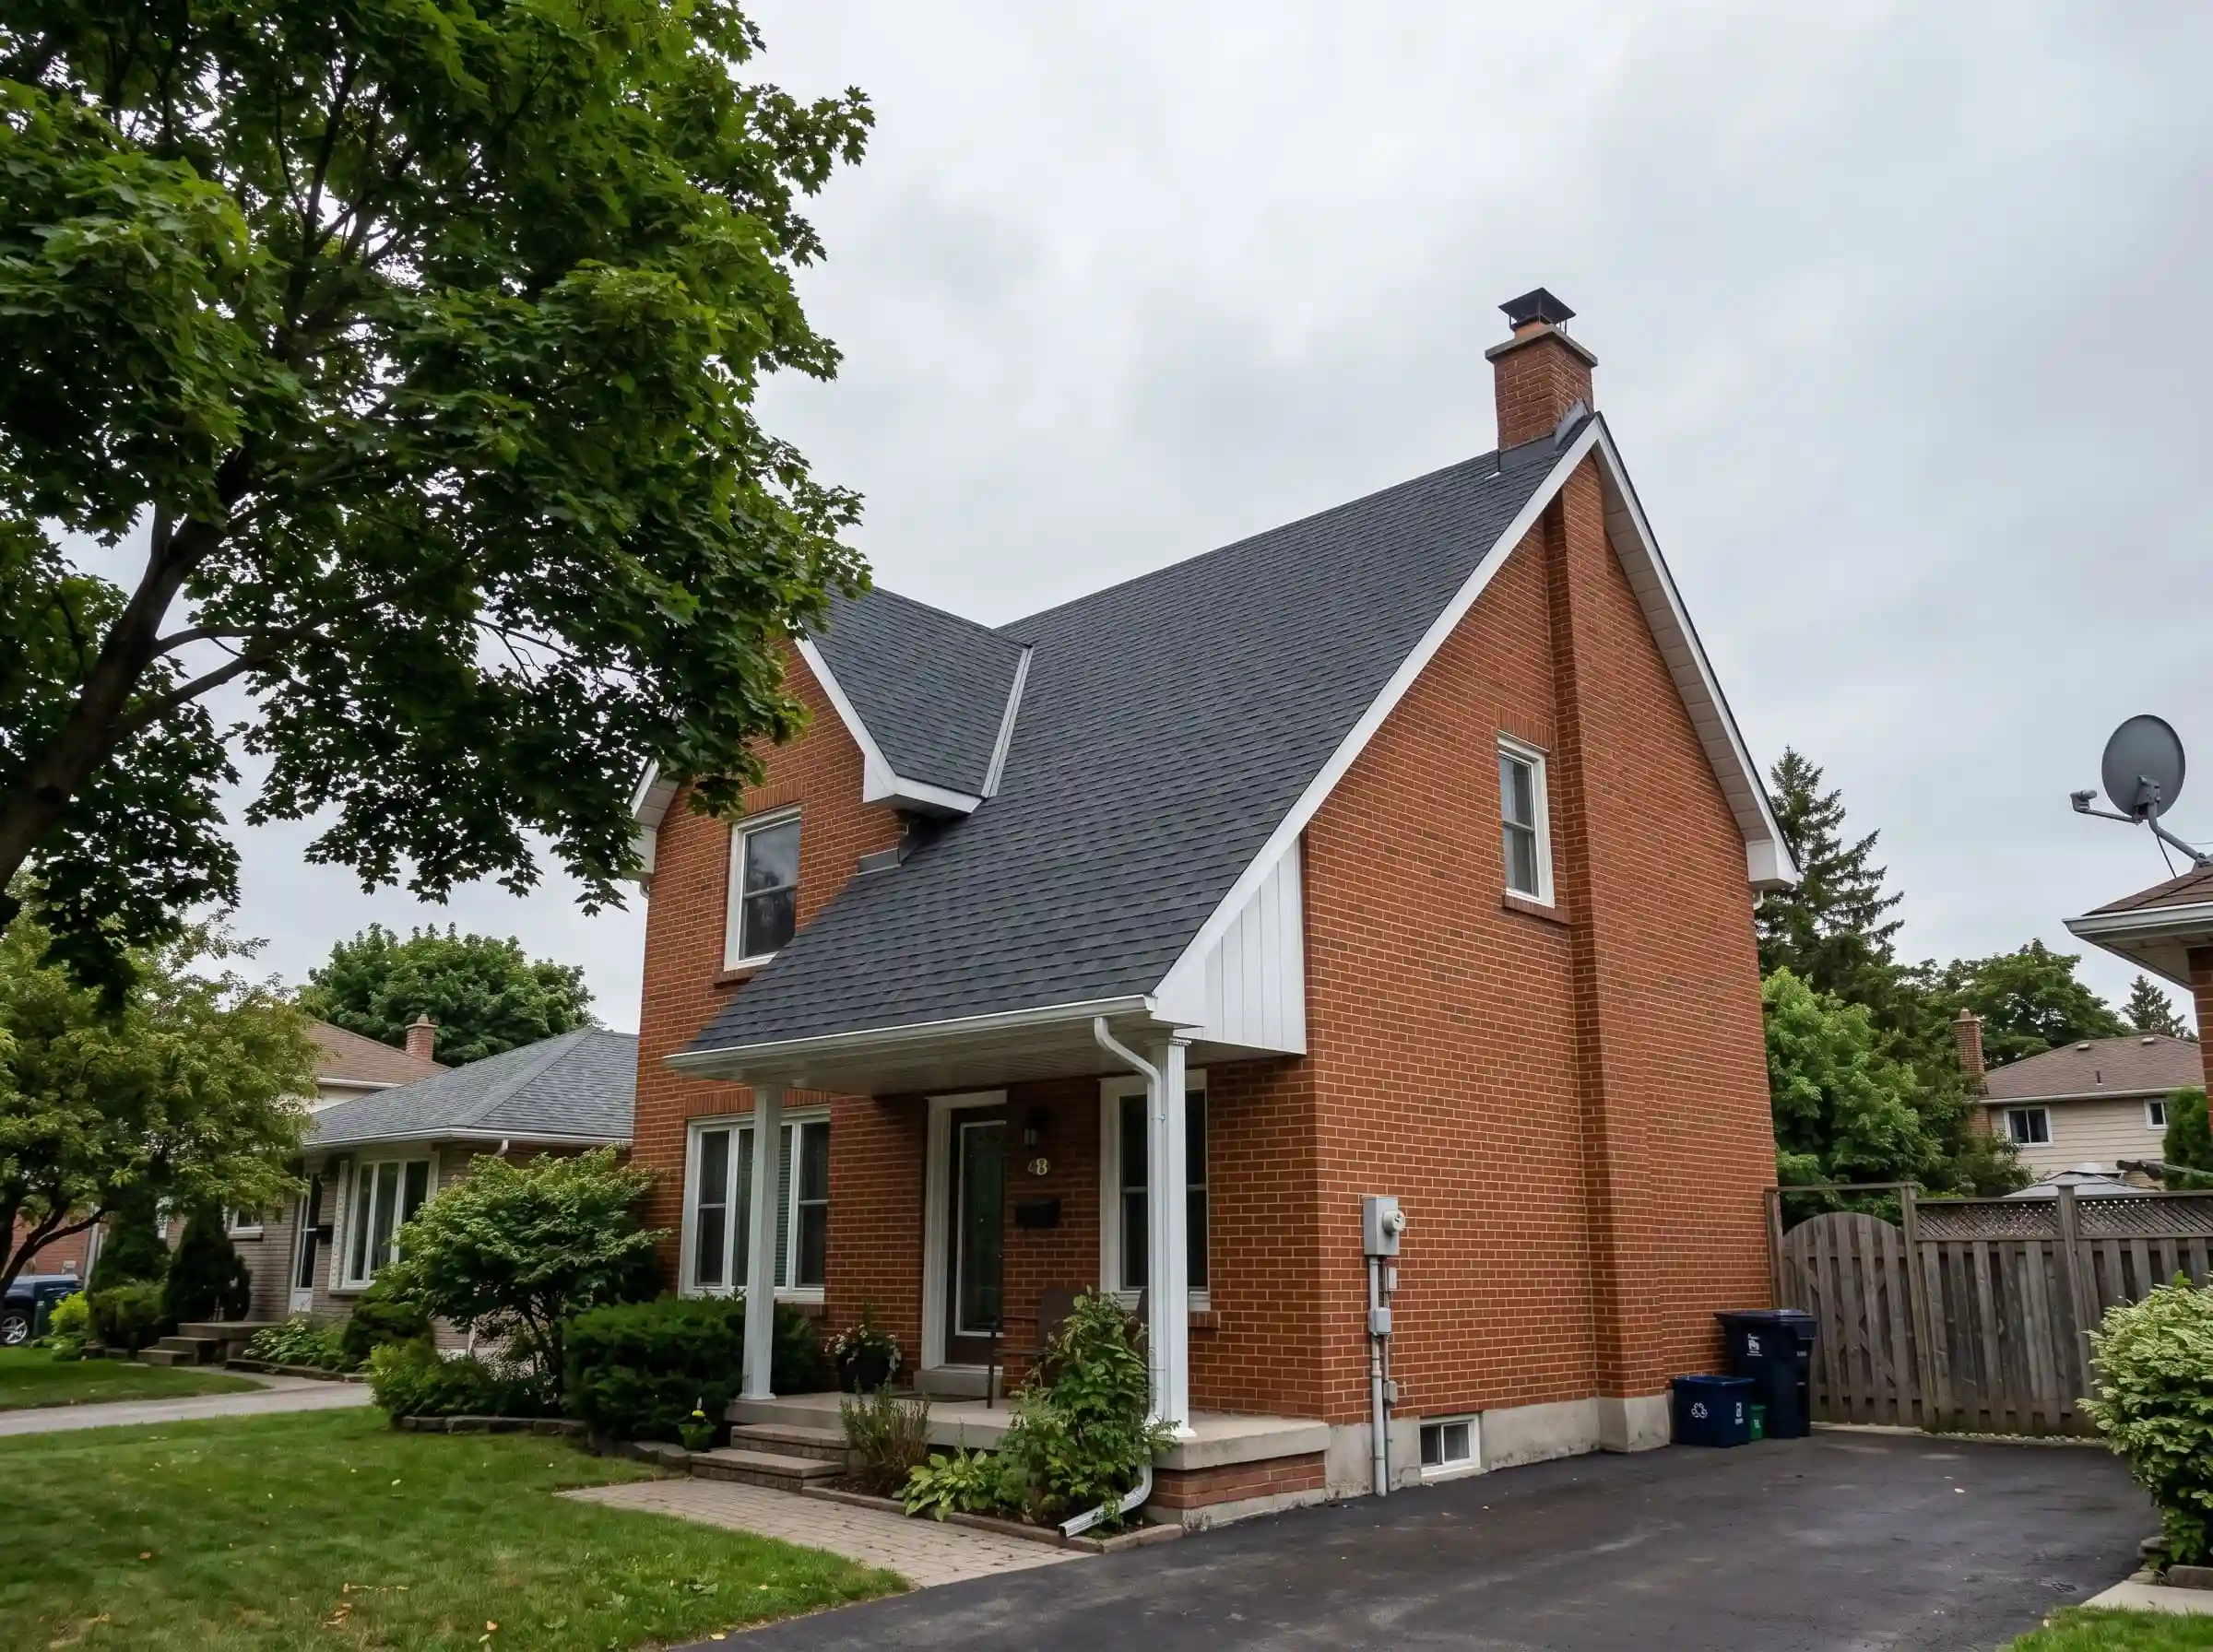
The new dormer window still has its sticker. The owner has moved the bedside chair away from the little wall beside it for the third time. Pat asks which surface feels cold. "The new window," comes the answer, followed by a finger pointing firmly at the wall. The window may be working properly while the dormer side wall, ceiling junction or concealed air path remains weak. Replacing the glass again would be an expensive way to avoid finding out.
That wall has a name: the dormer cheek. Pat writes it on the room photograph so the window and wall can stop taking turns being accused. It is a small wall in a complicated place: beside a roof slope, beneath another roof and frequently close to a cramped attic cavity. Its size makes it easy to overlook in a broad insulation proposal.
Mark exactly where the discomfort begins
From the room, make a simple record. Is the coldest-feeling surface the glass, the window reveal, the flat cheek wall or the sloping ceiling above it? Does the problem worsen with wind, occur across the entire wall or concentrate in a narrow line?
Keep rain-related wetting separate from a cold-weather complaint. A damp patch after a storm deserves a water-entry investigation. Condensation can also wet a cold surface, but the location alone cannot tell the two apart.
Do not remove trim or drill inspection holes casually. There may be wiring, concealed membranes or materials needing assessment. A useful first visit maps the concern and chooses access that can answer a specific question.
Several little surfaces can hide one discontinuity
NRCan's half-storey guidance describes the difficulty of connecting small attic spaces and insulated slopes. That is the relevant context for a dormer: good insulation in one accessible area does not prove continuity through the narrow junction beside it.
The side-wall cavity may be insulated while a connection at its top or bottom remains open. Alternatively, air control may be reasonably continuous while the insulation is thin or poorly fitted. Wood framing can also provide a different heat-flow path from the insulation between it.
These are different findings. Ask the assessor to distinguish a missing material, an air-leakage route and a thermal bridge. The effective R-value explanation shows why a product label cannot describe every part of a framed wall.
The inspection needs a route to the hidden corner
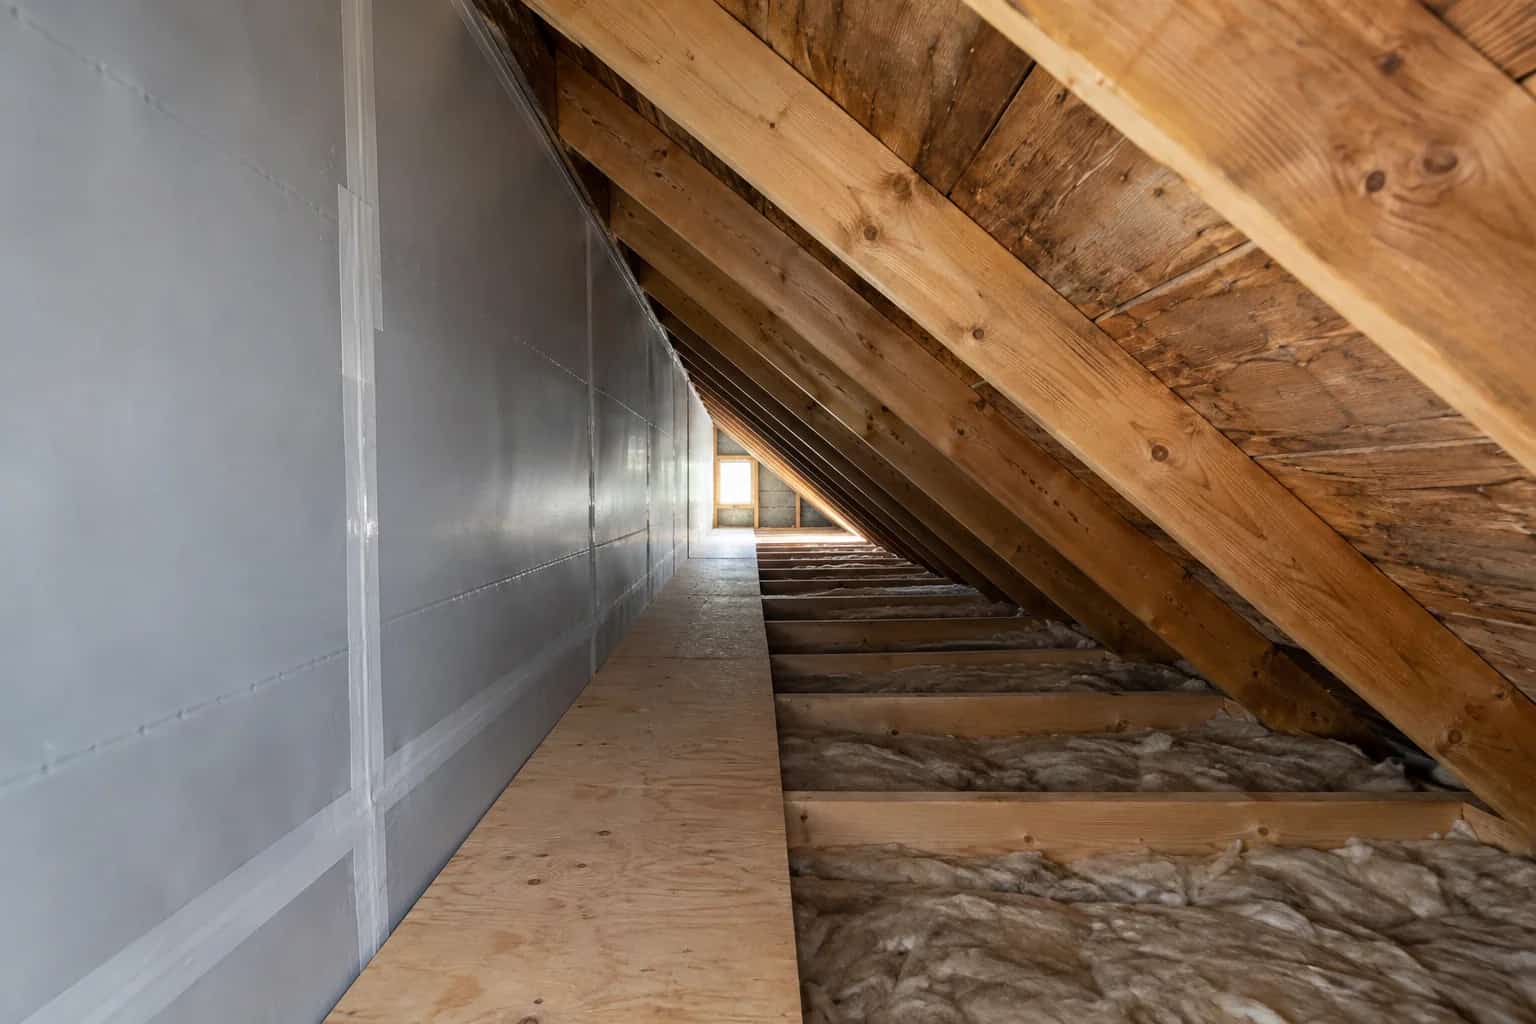
An accessible side attic may reveal the back of part of the wall. It may not reveal the entire dormer cheek or the connection around the window. A thermal image can guide the search under suitable conditions, but it does not prove which hidden layer is missing.
Ask what will be inspected directly, what will be inferred and where a limited opening may be needed. If a proposed repair requires taking off siding or opening the ceiling, the scope should include reinstatement and weather protection.
A drawing can stay simple: show the room, cheek wall, adjacent roof and intended air-control layer. Building Science Corporation's air-sealing guidance emphasises connecting seals to the actual air barrier. Sealing a visible trim joint is useful only if that joint is part of the relevant path.
Which surface is cold?
Map the symptom before choosing an opening or insulation method.
Window edge
Review the frame, glazing and perimeter connection.
Dormer cheek
Review the small side-wall insulation and air-control continuity.
Sloping ceiling
Review the roof enclosure above and beside the room.
Floor or lower corner
Check how the wall connects to adjoining concealed spaces.
Compare two plausible repair scopes
For the first repair option, the investigation finds a localized discontinuity where the cheek meets the sloped ceiling, with otherwise serviceable insulation. A targeted closure and reinstatement may address it without rebuilding every wall in the room.
Change the finding and the recommendation changes: the whole cheek has very little insulation, inaccessible cavities and an exterior finish already due for replacement. Opening from outside during planned siding work may provide a better opportunity. That is a larger scope for a different finding, not proof that every cold dormer needs exterior reconstruction.
The quote should identify the affected boundary and what improvement is expected. More insulation somewhere behind the wall is too vague to compare with a defined treatment of the junction.
Keep the window connection in the conversation
Even when the glazing is sound, the frame-to-wall junction can matter. If the new window installation changed trim or coverings, give the assessor that history. We want one person to explain the handover where the window, siding and roof details meet. The chair owner should not have to become the site coordinator just to sit comfortably.
A repair can also affect finished dimensions. Interior insulation may narrow the cheek or deepen the reveal. Draw that change before selecting blinds or replacing built-in furniture.
Keep before-and-after photographs of the same room corner and the concealed repair. Compare the symptom in similar weather after completion. The aim is a room that is comfortable where you actually sit, with a repair record explaining which connection changed.