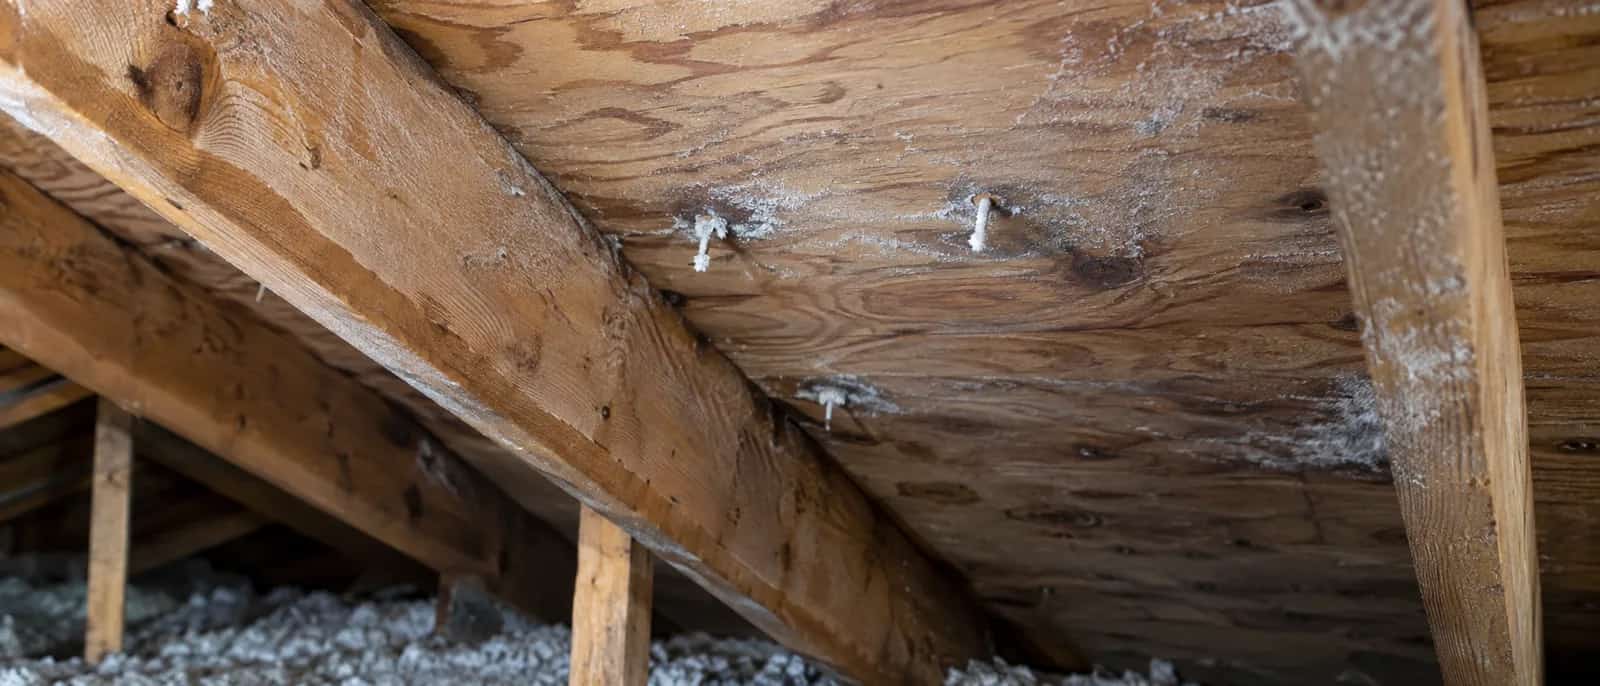
The bath mat catches a drip after a shower. Outside, the week has been dry. "Roof leak?" the owner asks. "Water, certainly," Mike replies. Warm moist air can condense inside a cold attic duct, collect in a sag or run back toward the fan. The roof cap still needs checking; the dry-weather timing gives the investigation a starting point, not a verdict.
A drip only during wind-driven rain points the investigation toward a different set of conditions. Both patterns need checking at the duct and roof termination.
Inspect the Whole Run
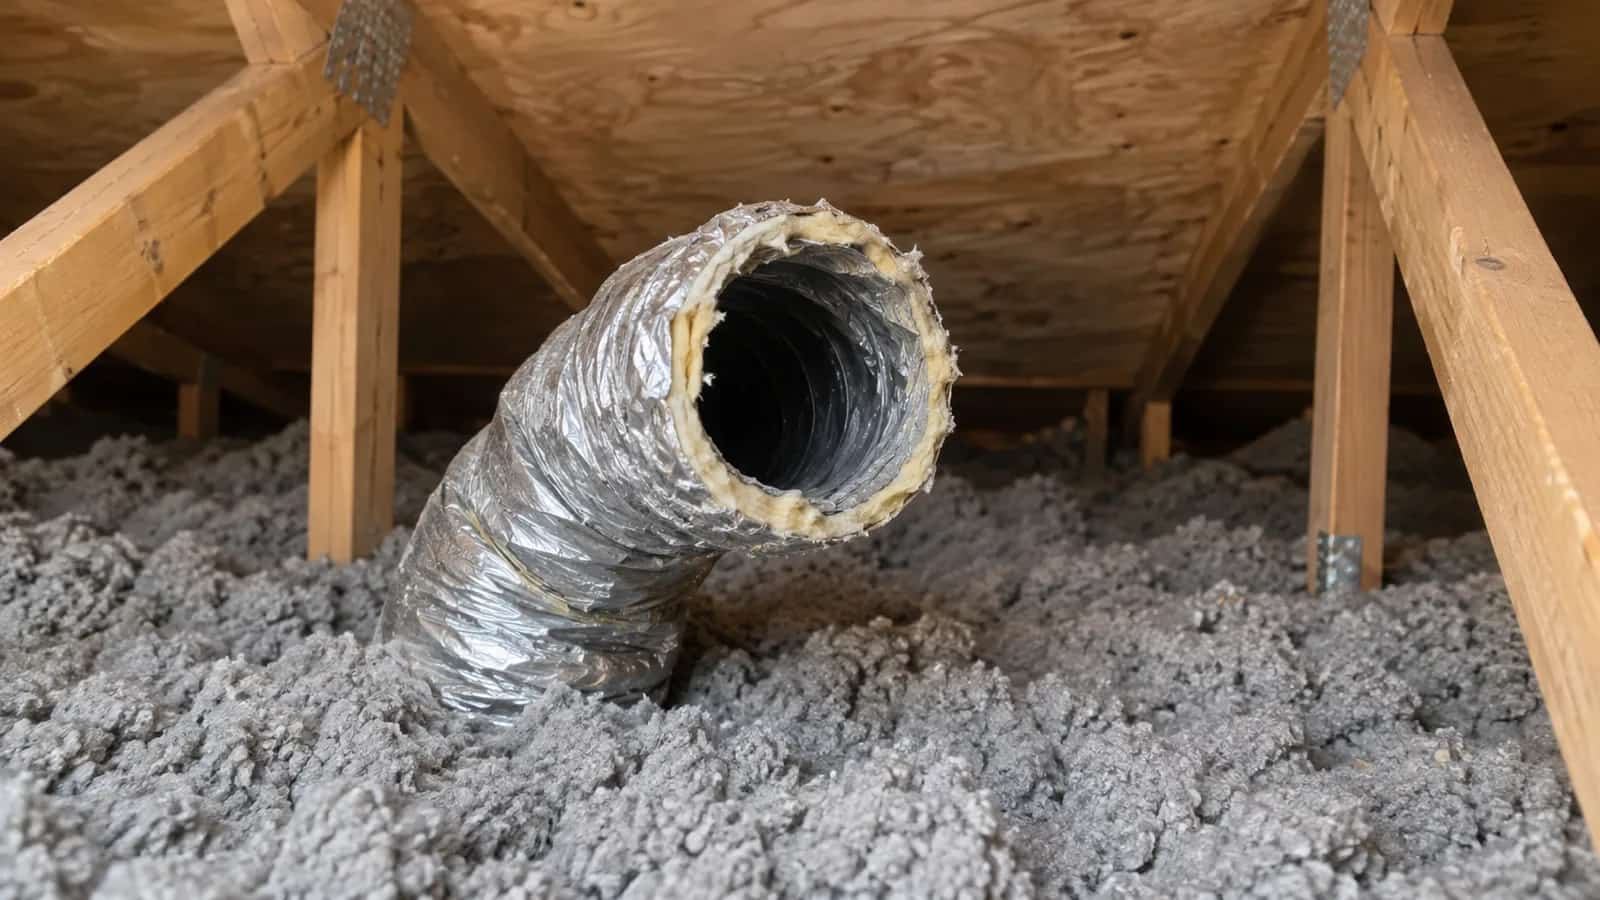
Trace the entire route, not just the convenient piece beside the hatch. Pat is looking for disconnections, crushed sections, unsupported dips, abrupt bends and diameter changes. A louder new fan is a tempting purchase, but its box rating does not measure the airflow this installed duct delivers.
The PNNL bathroom exhaust guide recommends a direct route, suitable duct size, sealed joints and insulation to reduce condensation. Its US code figures are not Ontario installation requirements; the local design and fan instructions remain the basis for your project.
The duct must terminate outdoors. Pointing it toward a roof vent or leaving it near the soffit is not equivalent to a sealed connection through a suitable terminal.
When replacing the fan, compare sound and airflow ratings on the same basis, with the corrected duct route included.
Insulation Needs Continuity
The first stretch looks beautifully wrapped. Farther along, the connection at the cold terminal is bare. Dave asks for that part in the photograph too. Warm air travels through the whole route; the neatest metre cannot stand in for continuity, support and a proper terminal connection.
Compressed insulation and damaged outer jackets also need attention. The correct route and any required slope depend on the fan, terminal and building geometry. A sidewall route that can drain away from the fan differs from a vertical roof connection. Do not add a homemade drain hole or puncture the duct to empty a sag; that introduces another leak into the attic.
If water is reaching electrical equipment, stop using the affected fan and arrange qualified assessment. A wet ceiling around it may also require moisture-damage repairs after the source is corrected.
How Water Collects in a Duct
The route can turn normal bathroom moisture into a concealed water pocket.
Warm exhaust enters
The fan sends moist bathroom air into the duct.
Cold section cools it
Insufficient insulation can let moisture condense inside.
Sag retains water
An unsupported low point becomes a collection pocket.
Water finds an exit
Joints or the fan housing may receive the accumulated water.
Check it after the conditions that caused the drip
Ask for photographs of the entire supported run and terminal connection. Have installed airflow checked where performance was part of the complaint. Confirm the exterior damper operates and the duct has not been left with packaging, debris or a restrictive improvised screen.
Afterward, keep a brief record of showers, weather and any recurrence. The bath mat staying dry on installation afternoon is welcome, but the more useful test is the set of conditions that previously caused dripping. Mike wants the fault gone, not merely absent during the farewell.
For a duct that ends inside, start with bathroom fan venting into the attic. For a connected system with weak flow, our damper guide covers another small component that can create a large nuisance.