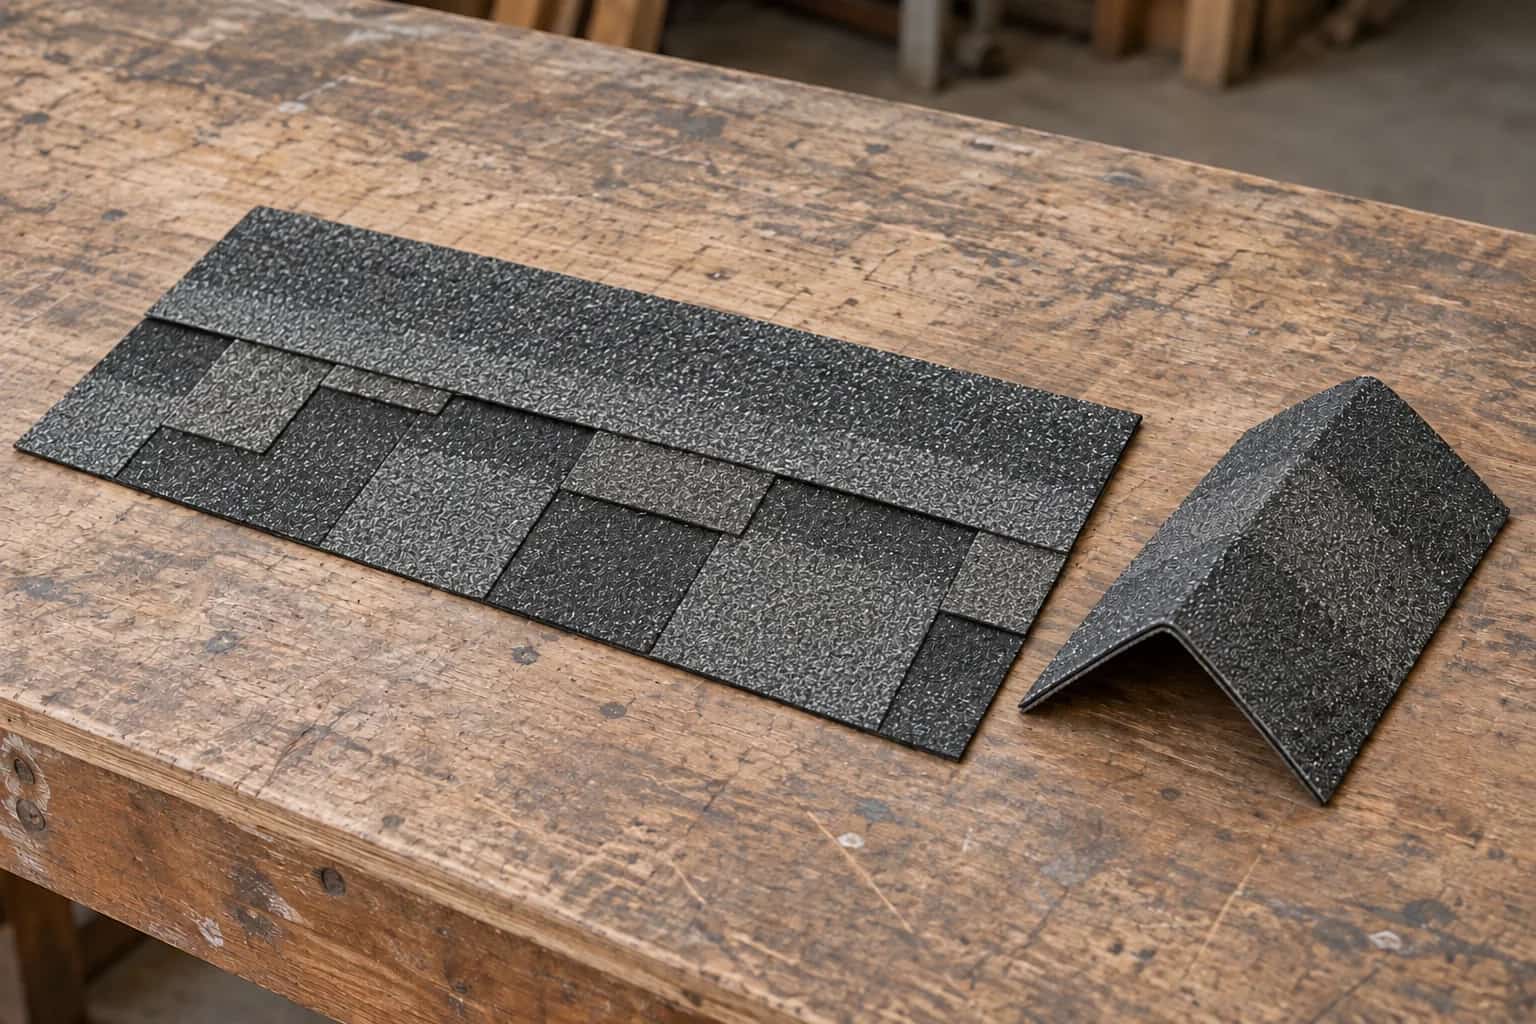
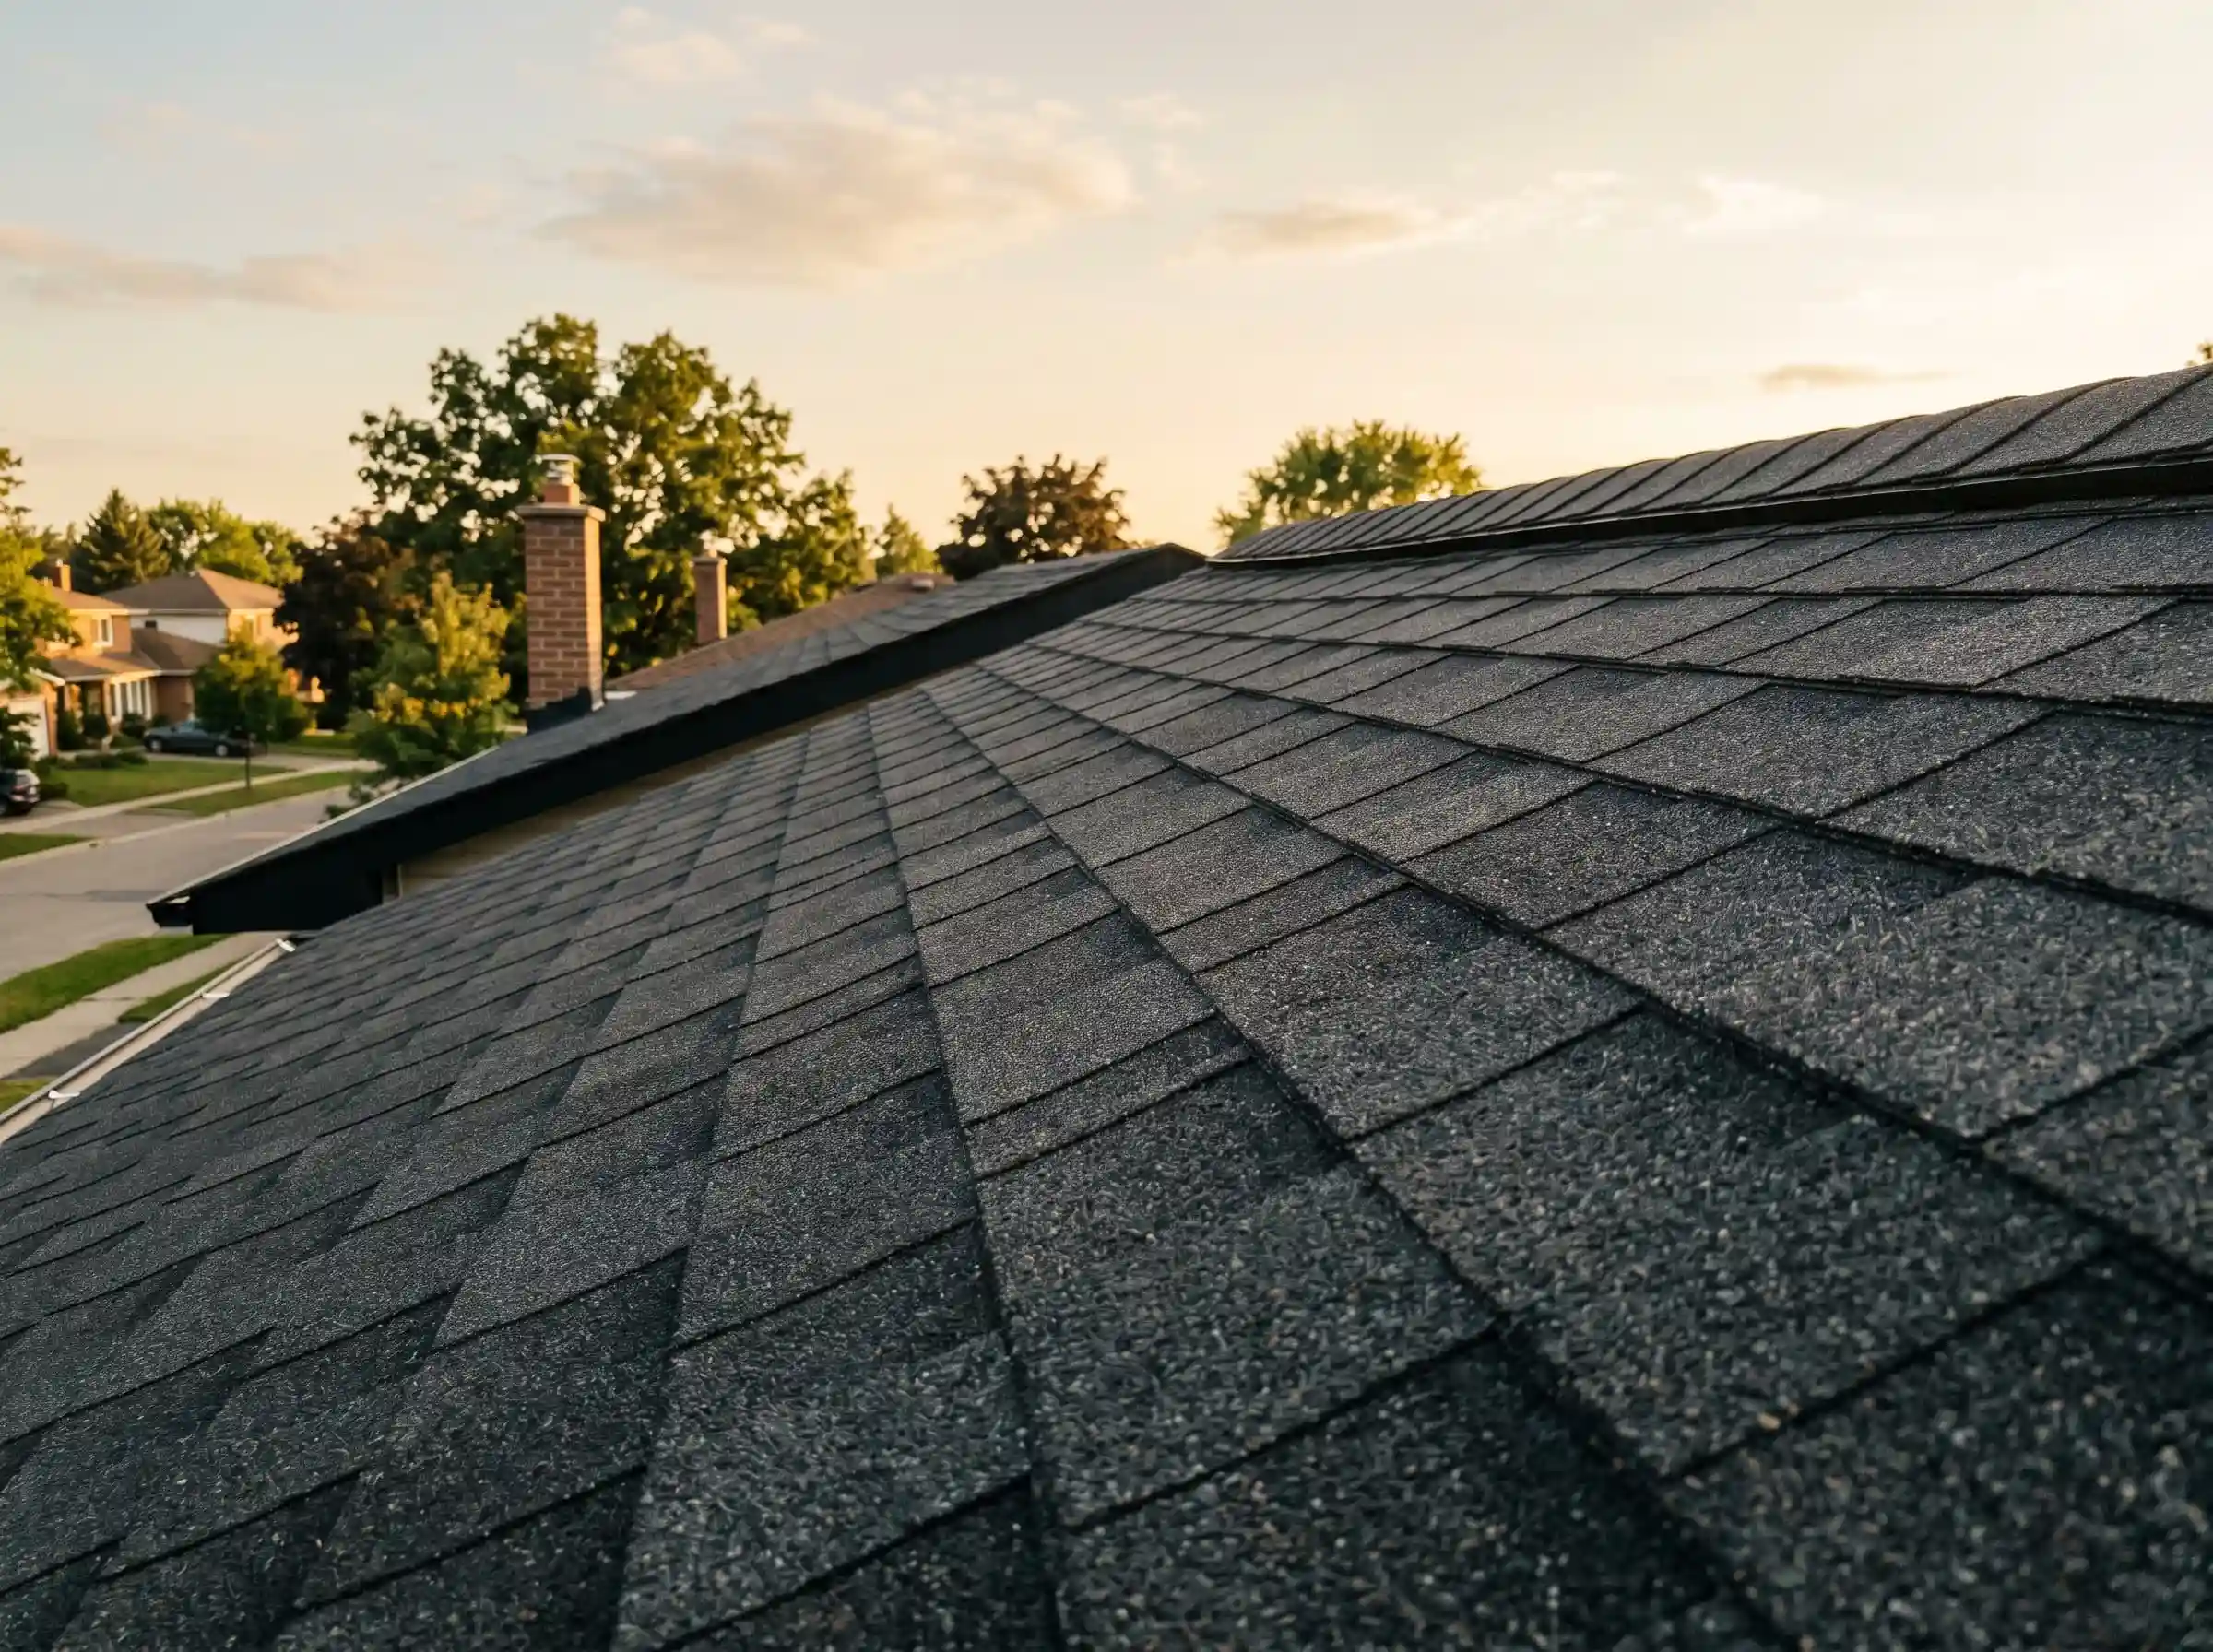
Mike receives a roof photograph with six red lines drawn down it. The owner has been careful; every line follows a repeating shape. Dave brings out a whole spare shingle and three of those apparent joints turn out to be inside one manufactured piece. A repeated vertical line is worth asking about. It is not enough by itself to prove that the shingle joints were installed incorrectly. First establish whether you are seeing the ends of whole shingles, decorative tabs within them or changes in granule colour.
That distinction saves an argument based on the wrong line. A laminated shingle contains shapes that resemble individual pieces, even though they are part of one manufactured unit.
Find the Full Shingle Before Measuring the Pattern
An installer can mark a photograph to show the start and end of several full units. The homeowner should not lift installed courses to find them. Once the real joints are located, two measurements matter: offset, the sideways change between course joints, and exposure, the height left visible beneath the next course.
IKO's installation guide says these dimensions and nail locations are product-specific. A pattern copied from another brand, or remembered from an older three-tab roof, may be wrong for the material now being installed.
Ask for the wrapper diagram beside the marked photograph. If the installer used an approved alternative layout, ask them to identify that option. "We always do it this way" does not tell you which instruction was followed.
Orderly Does Not Always Mean Wrong
IKO's pattern explanation describes the familiar repeated cutouts of three-tab roofing and the more random appearance intended by many laminated shingles. It also notes that some designer products deliberately create a repeating look. The intended appearance must be established before calling repetition a defect.
The owner wanted a slate-like regularity, then compared the finished roof with the neighbour's irregular laminate. Mike understands the worry, but reaches for the selected product's layout drawing. "We should compare it with the roof you ordered before we compare it with next door." The intended appearance is the reference.
On another house, a strong checkerboard effect may reveal repeated colour or tab groupings. That deserves review, but appearance alone cannot tell you whether water-shedding joints are also misplaced. Ask the contractor to distinguish the visual concern from the installation measurements.
Three Patterns That Need Different Checks
What looks like a joint from the driveway may be a tab edge or colour boundary.
Decorative shape
Identify the manufactured pattern within one full shingle.
Actual end joint
Locate where neighbouring full units meet in each course.
Course exposure
Check how much of each course remains visible below the next.
Product layout
Compare measured joints and exposure with the selected installation method.
What Is Racking?
Racking describes an installation approach that progresses vertically rather than working across and up the roof. IKO's pattern guide generally discourages it for the applications discussed. The word is not a universal diagnosis: determine the actual sequence and the instructions for the named shingle.
Dave leaves the red annotations on the photo and adds a second colour for confirmed unit ends. There is no prize for deleting a homeowner's concern before understanding it. A photograph of a completed slope may show repeated alignment without revealing how it was installed. The inspection should record actual unit ends, offsets and exposure across a representative area. Where a dormer or valley interrupts the layout, show how courses continue around the obstacle.
If the installer says the joints meet the requirements, request the relevant dimensions and photographs. If they do not, ask for a correction method accepted for that product. Applying sealant over every suspicious-looking line is not a substitute for resolving the layout.
Colour Is a Separate Conversation
A roof can meet its layout requirements yet look patchy because of material colour, lighting or other surface differences. Our new-shingle colour guide covers that assessment. Keep both concerns in the record if both exist; one explanation need not settle the other.
The same applies to fastening. A good-looking pattern does not establish that hidden nails are correctly located or driven. Representative installation photographs are useful precisely because later courses conceal that work.
Before finalising a repair, agree on what the follow-up photographs must show. A wider view should establish the appearance; marked closer images should establish the corrected layout. You want an explanation that identifies the lines you can see and the construction behind them, without turning every shadow on a new roof into a new fault.